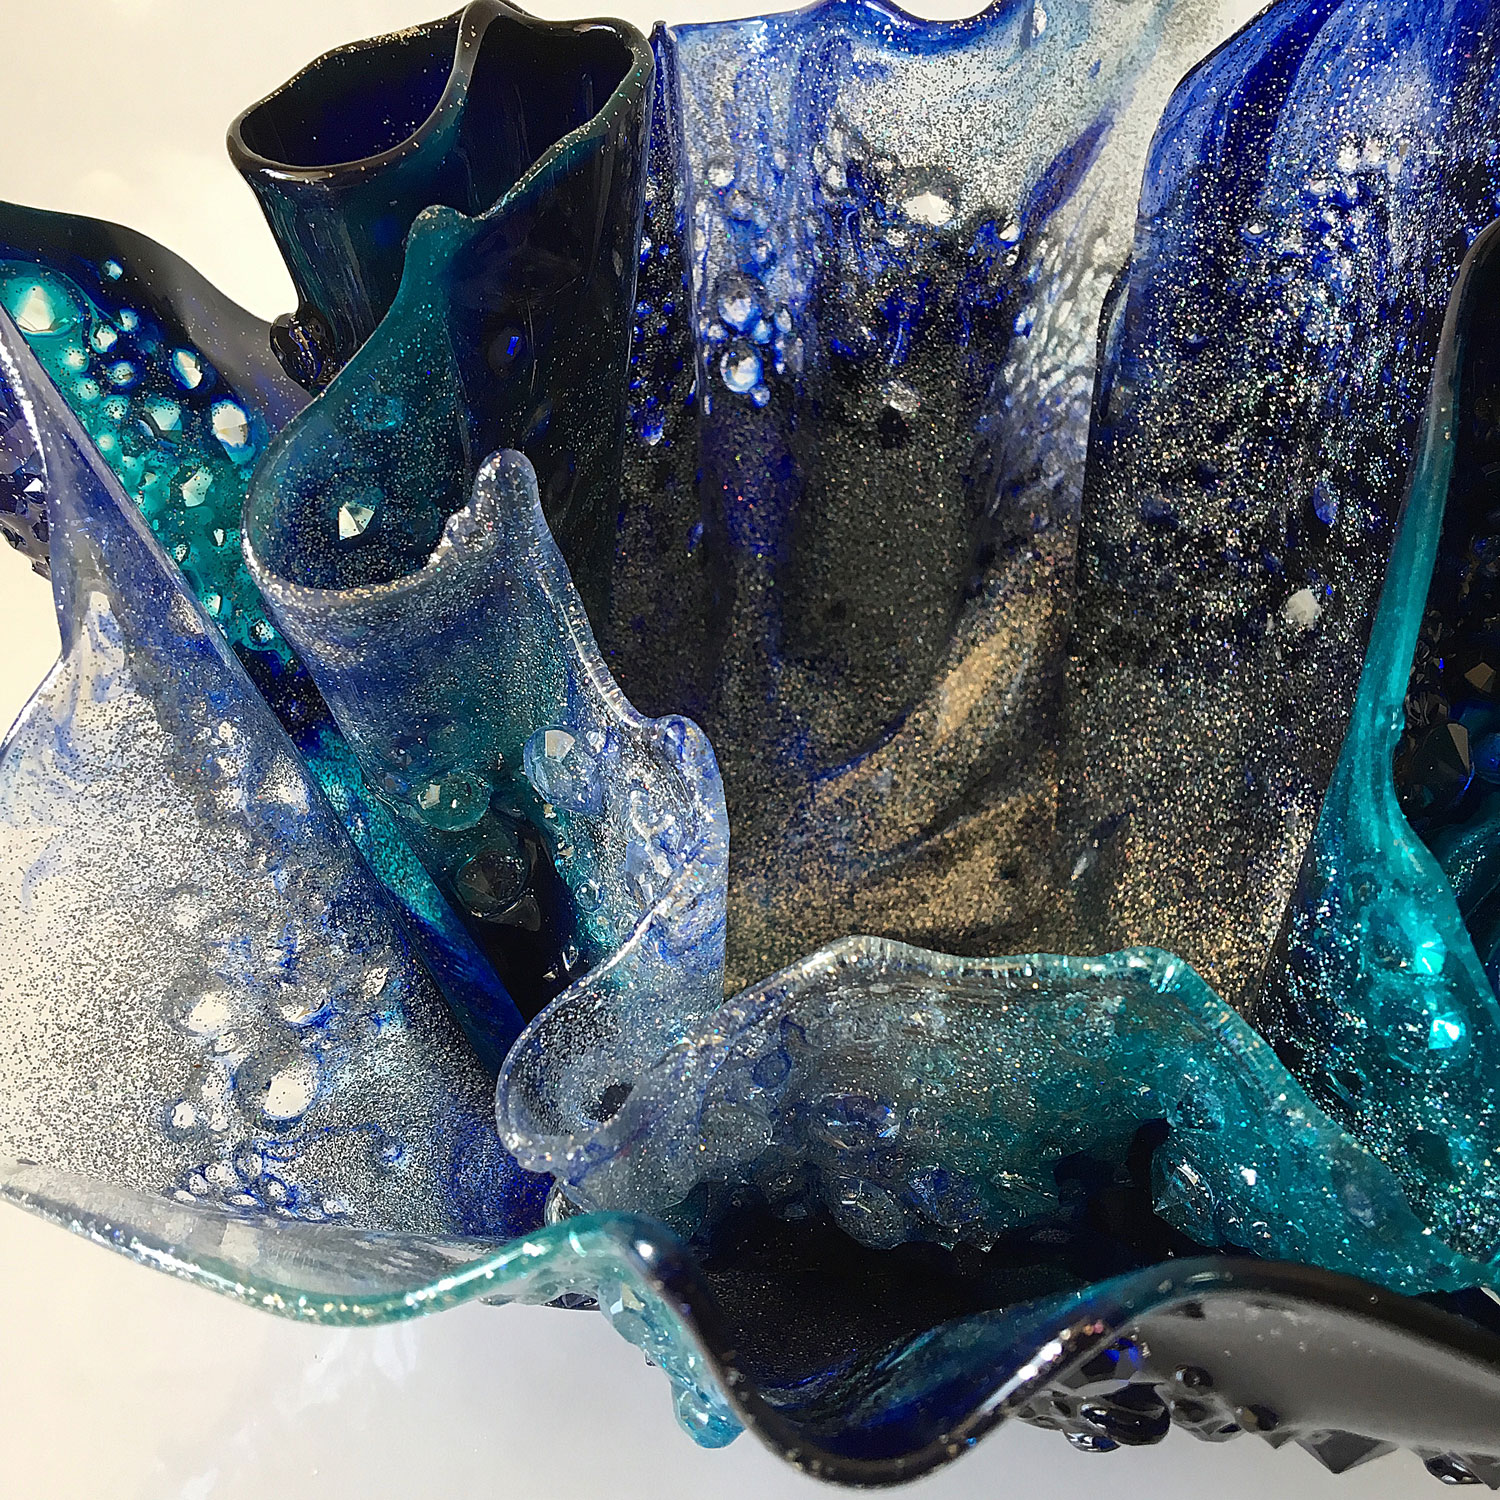
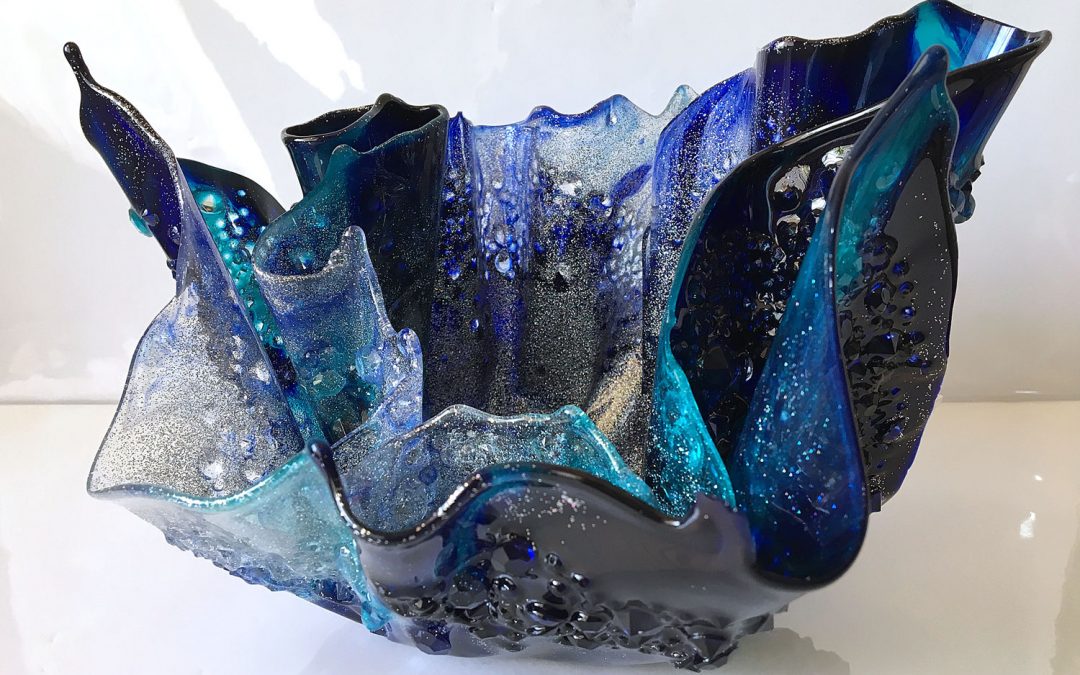
It is still too hot to create any resin art here in Australia. So I have gone through my video archives and found this one waiting to be edited.
What I love about this one, is that it is a combination of transparent and opaque resin. The glitter in it really gives it the wow factor. This one sold the very first day it was on display. I also love that the individual layers were not perfectly round, thus giving this an unusual shape.
For this project I used:
- Leftover resin – Liquid Glass Resin from U Resin: http://bit.ly/LiquidGlassResin
- Silver Glitter, any inexpensive glitter, fine glitter is best: https://amzn.to/2TLdt3E
Artisue Pigment Paste: Sapphire Blue- Colour Arte – Rezin Art Lustre Pigments – Aquamarine: http://bit.ly/rezinarteaquamarine
- A round bottom vase for shaping
- Cellophane Wrap: https://amzn.to/2YkX6x0 – US | https://amzn.to/2NYjEPi – UK | https://amzn.to/2XJhfMN – AU
Books
If you are new to resin, then take a look at my beginner’s book, The Essential Beginner’s Guide to Resin Art Techniques.
eBook version: (http://bit.ly/resinguide)
Paperback version: https://amzn.to/2XEmqxn (US)* | https://amzn.to/2NMKAkY (UK)*
*Sales from this guide also go towards funding my YouTube resin tutorials.
Thank you for your support.
* Note – As an Amazon Associate, I earn from qualifying purchases. I realise that not everyone has access to the shops I have locally, so I have taken the time to find alternative products on Amazon and provide you with links. Please also note, I haven’t personally tried all of the product links, due to location, however, my aim is to help speed up your creative process by providing these links. Every time you click on a link and purchase a qualifying item, I receive a small commission, this payment helps to keep my tutorials free for you to watch.
If you would like to access my videos before everyone else, then please sign up to my newsletter: Sue Findlay Designs Newsletter
I would love to see your creations, please join my Facebook Group: Resin and Mixed Media Art Tutorials, and share what you have made.
I hope you enjoyed this video and it has given you ideas for creating your own freeform resin vase.


Beautiful Sue, how do you deal with the Mark’s caused by the cellophane.
Hi Melissa – I haven’t found it to be an issue.
Absolutely stunning I am having one heckuva time getting my Resin to cure and harden any??
My mixture is evenly poured, but it just won’t harden!!
Hi Janice
Sorry, I can’t help. You need to speak with the resin manufacturer.
Sue
Absolutely Beautiful, do you just trim the excess cellophane from the vase once dry?
Hi Anita – There is no need as I peel the cellophane from the resin. Sue x
Hello! Will the cellophane sheets work just as well with this project as the rolls? Also, if using the cellophane rolls, how do I determine how much to cut off for using?
Any cellophane will work. You simply cut the amount you need for your project. How much will depend on how big you want to make it. Sorry I can’t be more specific. Sue x
Thank you Sue! I have one more question – which respirator do you recommend using?
You use cellophane? Is that what we call wax paper here in US? or is it plastic wrap?
Cellophane is what florists use to wrap their flowers. It is not a wax paper.
Sue,
I am going to try my 1st one. Can you provide a link for the diamonds?
You will find the diamonds in the shop section of this website, under accessories.
Sue
I watched a video from Art Resin on Nov. 27th, 2019 On How to Shape Resin, by Carmen. I wanted to make plates for Family with baked goods thinking this would be a great Christmas gift. I made it, shaped it between plates, let it sit for 2 days. It took some effort to pry the plates from the resin. She said it would OK coming apart. First lie. I then let the plate sit another 2 days, waiting for it to harden up. After 4 days, it really did harden. Great. I used it to serve cookies. Later when washing in sink water, that plate softened up. WHAT THE HECK! I rinsed it off, dried it off and put on the counter to reshape. It took its original shape. That resin took temp’s up to 120 degrees. I then changed to a resin that takes temp’s up to 500 degrees. Made another plate. This has to work cause my sink water is not 500 degrees. IT DID NOT WORK! As soon as I wash it, it softens up. I called Art Resin and talked to someone there about this problem. Her reply was, oh yeah, that will happen. I replied back saying that didn’t they think that was important information to put in their video? People watch you guys believing you are giving correct information. That was their second lie. I refuse to watch any more of their videos. So, since I have watched you shaping your resin to those beautiful vases, what can you advise me on how to keep that plate shape FOREVER, even after washing it in sink water? My Mom still wants a plate that won’t go limp in sink water.
Hi Christine
First of all, you shouldn’t be using resin with food. Even if the company states it is food safe. If you check the MSDS (Material Safety Data Sheet), you will find it is only okay for incidental food-safe, meaning if the food is on it briefly.
I advise people to clean resin with warm soapy water, not hot water and do not place in the dishwasher.
The pieces I create are only ever for decoration purposes or for holding flowers and are not intended for everyday use.
Kind regards
Sue
How long do you leave the resin till you place it over mould? Thankyou
The time can vary depending on the time of year, the temperature of the room and the thickness of your resin. You need to keep checking on it every hour or so (after leaving it for around 2-3 hours). Once it is no longer sticky (but still flexible), it is time to move. Good luck with your project. Sue
Hi. How thick is your resin plates?
Hi Tammy
Do you mean the plates that I poured the resin on, or how thick the resin is after it has been poured?
Sue x
Hi Sue, I have made a resin vase after looking at Dawn Free & today your Xmas 19 video.
I have also admired the recent outdoor blue garden lamps .
Both of which leave me with unanswered questions. I wonder if you might help?
Firstly, my vase was a success visually but the item is quite soft and flexible. It is dry, but 24 hours old. Will it harden up or does one need to make the next one thicker; or have additional layers…to make it stable?
The blue garden lamp “bowls” look solid, not flexible. How does one achieve this?
If resin is heated…by tea lite , sunlight, or electric bulb…won’t it soften or melt?
I am new to your group. The artists and ideas are very inspirational.
Thank you for letting me join.
One of the extra benefits is that you are an Aussie so most of the content will actually be available for once! 👍😬
Hi Robyn
Thank you for your lovely comments.
Firstly, I think you may be getting me confused with another resin artist, because I am not familiar with ‘Dawn Free’ or ‘Xmas 19’.
I also haven’t done any outdoor lamps.
However, I will do my best to answer your questions.
There could be a number of reasons why your vase is still soft.
1) The brand of resin, some are softer than others
2) Not cured long enough, even though the resin is cured enough to handle after 24 hours, it can take a further week to fully cure. It could be longer, due to the temperature of the room.
3) The resin is too thin, some resins are thicker than others, so you may need to create double layer pieces for extra strength or use a thicker resin.
When creating lampshades, I only ever use LED bulbs, they don’t get too hot and thus don’t harm the resin.
I wouldn’t recommend placing resin in the sun, it can get really hot and cause the resin to soften. Note, once cooled, it will go hard again. It could also cause your resin to yellow more quickly.
Good luck with your resin going harder over the coming weeks.
Kind regards
Sue
I saw that you place one over the other..how did you remove the cellophane from in between
Hi Kelly
Place another on the top of the original resin and then place the second layer on the top.
Sue
Loved your vase. Never thought of using cellophane; great tip. Will give this a go.
Glad you liked it, thank you.
Sue