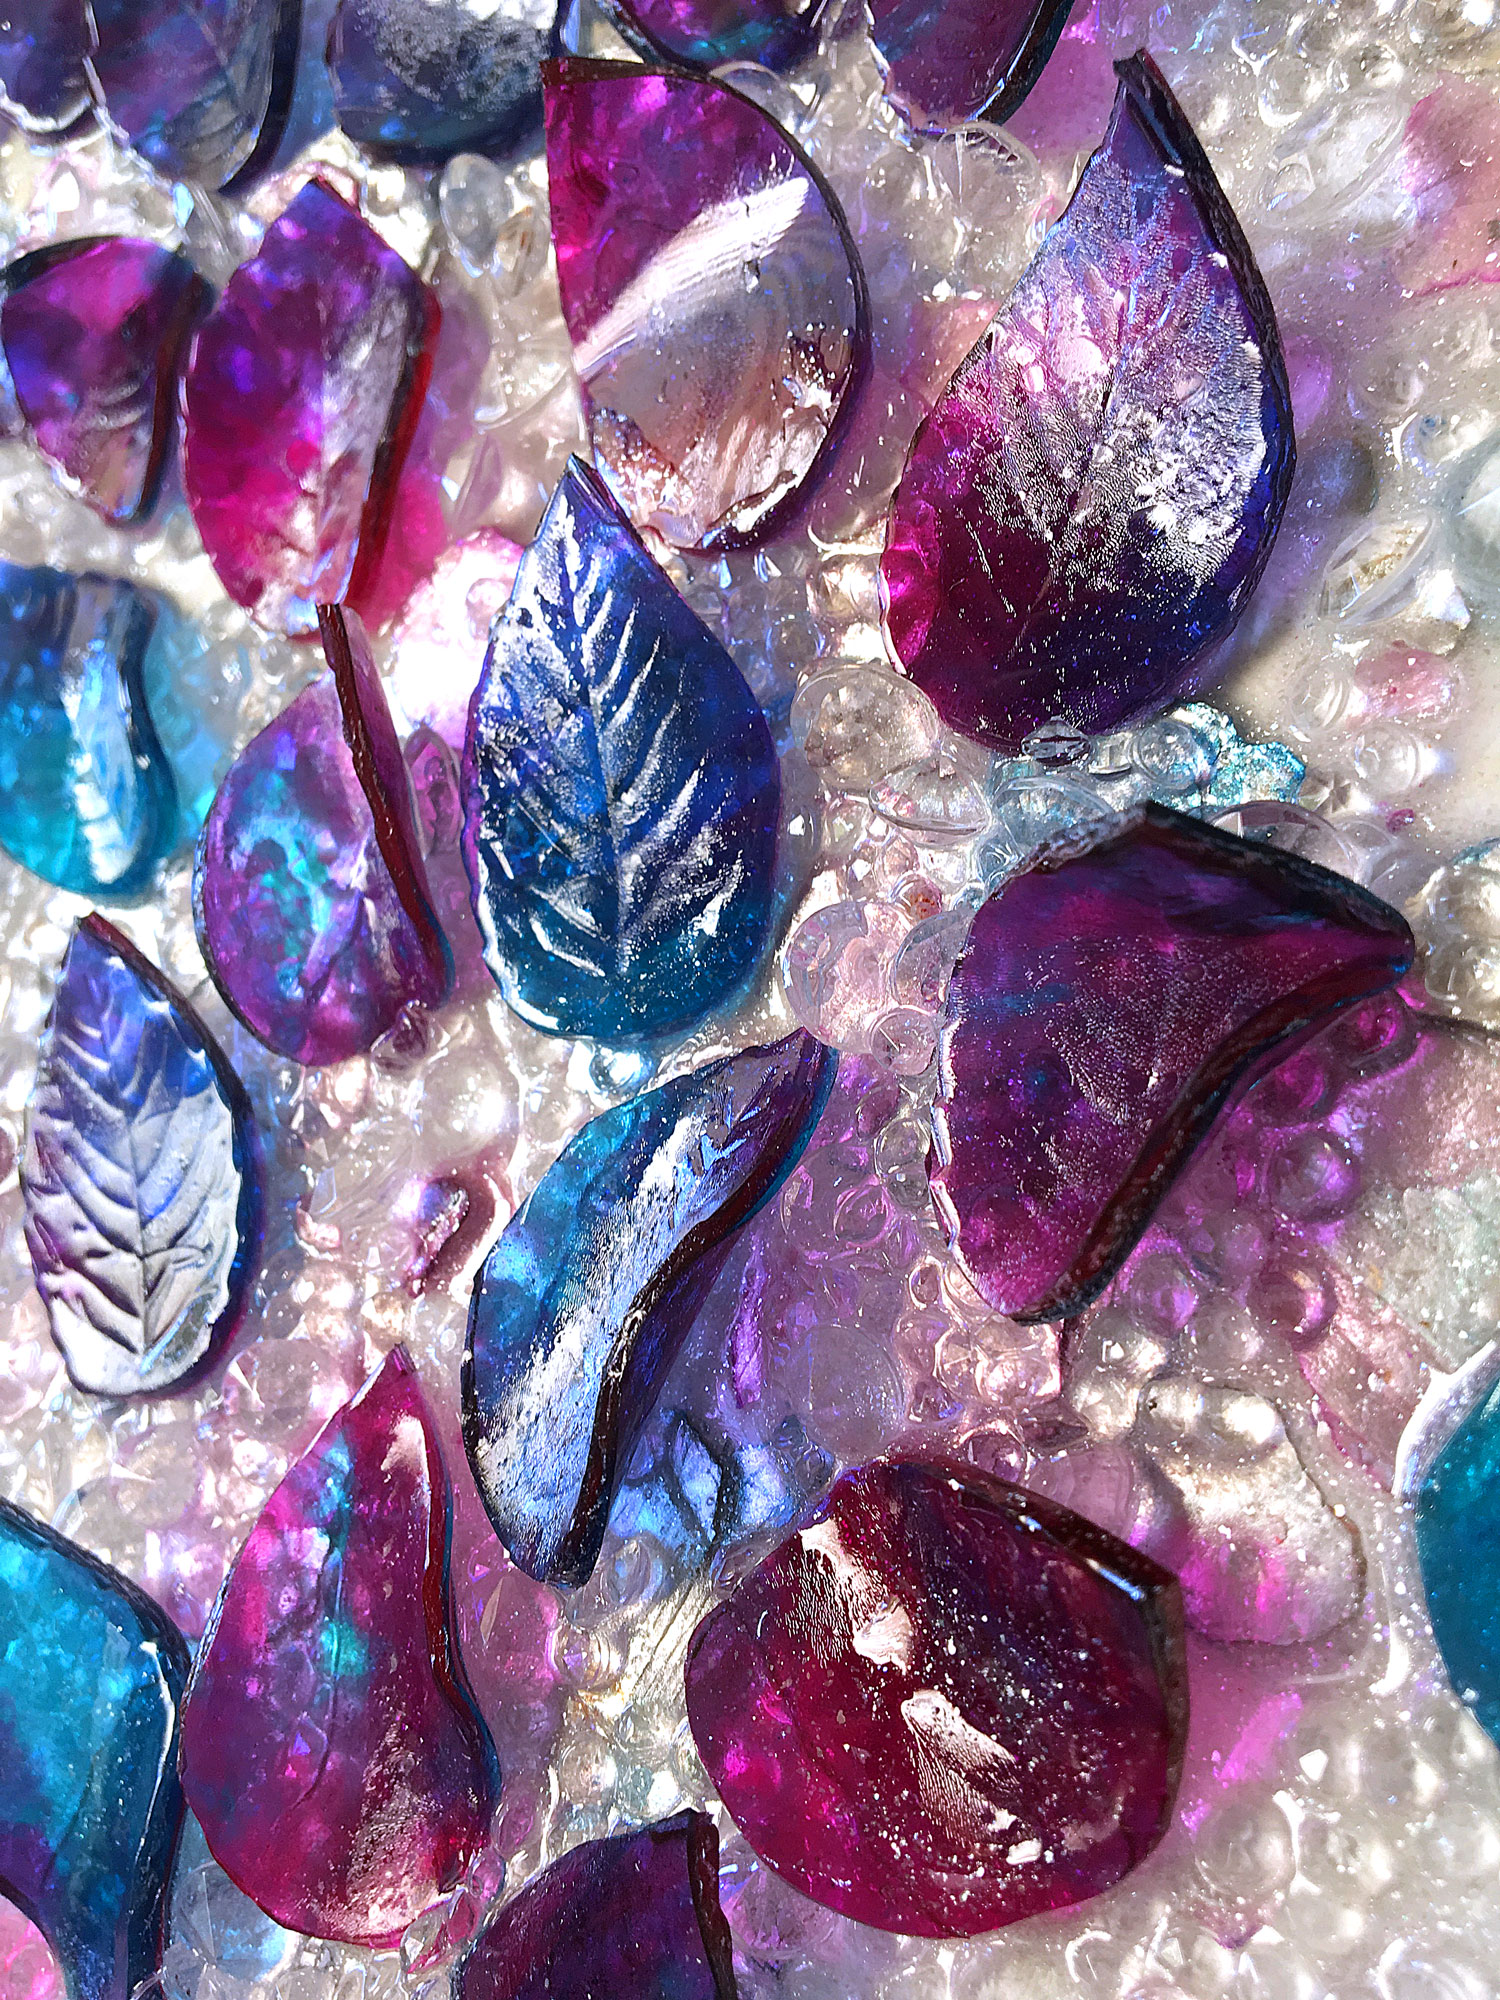
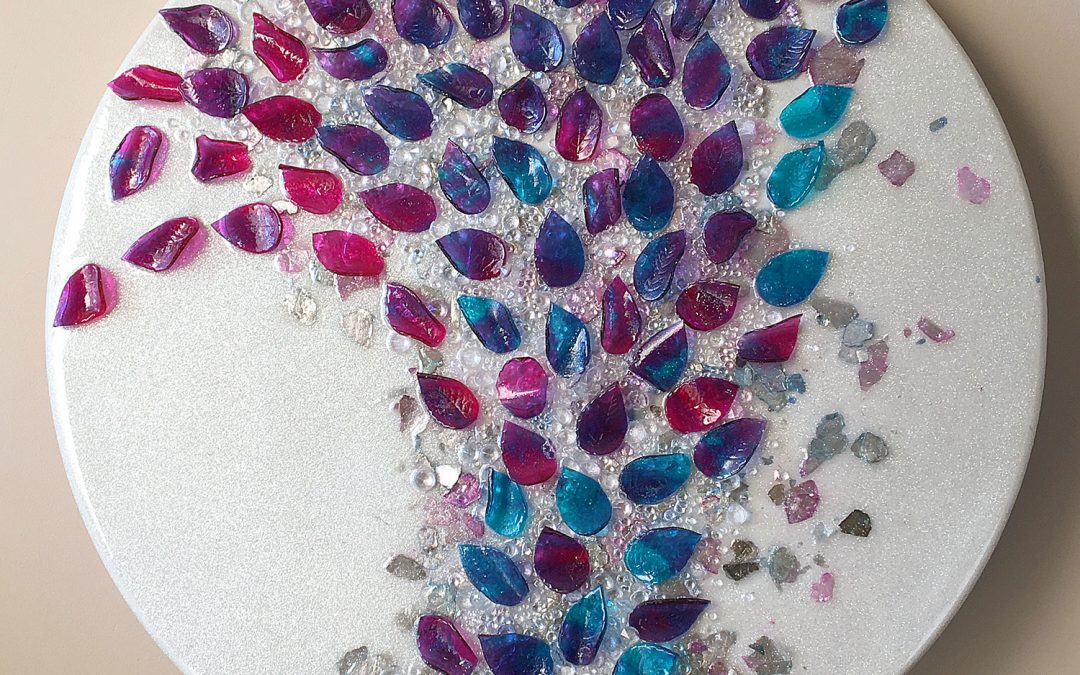
This is a follow on from my previous video, using the handmade resin leaves from the last project, I have incorporated them into a new resin art. I have also incorporated some of the mica flakes I was given by Colour Arte.
To make the leaves, you first pour a layer of resin on to some plastic, for this I used cellophane because it doesn’t wrinkle too easily. Remember not all resins are created equally, so always check that your resin won’t stick to the plastic before you begin this project. When semi-cured (still sticky) and using plastic cookie cutters, make your indentations in the resin and then leave to cure until it is no longer sticky. Once you can handle the resin without leaving fingerprints, you can now trim the leaves out. Whilst still quite bendy, bend the leaves into random shapes and hold in place with sellotape. Leave to cure for at least 3 days.
In the meantime, using either a paring knife or your nails, start splitting the mica flakes into thinner pieces. Your mica flakes will go further if you take the time to do this.
Once you have everything ready to go and your board has been prepped, you can now mix your resin and add the elements to the board.
Link to the previous video on how I created the leaves – https://youtu.be/v91pXBxllx0
For this project I used:
- Resin: Standard UV Resin from U-Resin (http://bit.ly/StandardUVResin)
- Round MDF Cradle Board
- India Ink (https://amzn.to/2TiyYDy– US) | (https://amzn.to/2Stcn8R– UK) | (https://amzn.to/2JIzY1c– AU)*
- Cake cutters (https://amzn.to/2KBkZI8– US) | (https://amzn.to/2Ze7BSt– UK) | (https://amzn.to/2yYYnKK)*
- Mica Flakes – Moonlight (http://bit.ly/MoonlightMicaFlakes)
- Acrylic Diamonds (http://bit.ly/acrylicdiamonds)* – Alternative Product: (https://amzn.to/2Y7pVJi– US) | (https://amzn.to/2XWbdUt– UK)*
Artisue Powder Pigment – Sparkle White
Books
The Essential Beginner’s Guide to Resin Art Techniques
eBook version: (http://bit.ly/resinguide)
Paperback version: https://amzn.to/2XEmqxn (US)*
https://amzn.to/2NMKAkY (UK)*
*Sales from this guide also go towards funding my YouTube resin tutorials.
Thank you for your support.
* Note – As an Amazon Associate, I earn from qualifying purchases. I realise that not everyone has access to the shops I have locally, so I have taken the time to find alternative products on Amazon and provide you with links. Please also note, I haven’t personally tried all of the product links, due to location, however, my aim is to help speed up your creative process by providing these links. Every time you click on a link and purchase a qualifying item, I receive a small commission, this payment helps to keep my tutorials free for you to watch.
If you would like to access my videos before everyone else, then please sign up to my newsletter: Sue Findlay Designs Newsletter
I hope you enjoyed this video, if so, please go and take a look at my other videos.
I would love to see your creations, please join my Facebook Group: Resin and Mixed Media Art Tutorials, and share what you have made.


Thank you! So inspiring. Gracias, amiga!
Thank you, glad you like it 🙂
Sue, great to catch your blog, I’m assuming it is anyway lol. On pinterest along with your vid which I was pleased to see having been to busy of late to catch YouTube. This is a stunning piece in my opinion due to the simplicity and a little less glitz. Hard for me to balance between them as if a little glitz is good then more must be better!! Lol. You look wonderful for 50 and I hope you you enjoyed your holiday. I’m working on a foil piece. I have the foil down and surrounding painted as of 2 weeks ago. Sometimes life just happen! Great vid again. Kimmy from the states.
Thank you, Kimmy, we had a great holiday, thanks for asking. Life does just happen, however, you have to make time for your art otherwise you may regret it later in life. The mundane tasks will always be there. Sue x