Like a lot of my other freeform resin bowls and sculptures, I take my inspiration from
For this project, I performed my usual pouring of resin on to plastic, only for this one I used cling film or cling wrap, instead of cellophane. This was to allow for a more controlled bending process.
Products used for this project include:
U-Resin Standard UV
India Ink – Blue and Turquoise https://amzn.to/2TiyYDy*
e Rez Expressions Epoxy Pigment Paste – Angel White http://bit.ly/lerezmatpaste
Acrylic Diamonds https://amzn.to/2Y7pVJi*
A Round Vase for shaping
Cling Wrap
Oval Plastic Serving Trays
* Note – As an Amazon Associate, I earn from qualifying purchases. I realise that not everyone has access to the shops I have locally, so I have taken the time to find alternative products on Amazon and provide you with links. Please also note, I haven’t personally tried all of the product links, due to location, however, my aim is to help speed up your creative process by providing these links. Every time you click on a link and purchase a qualifying item, I receive a small commission, this payment helps to keep my tutorials free for you to watch.
If you would like to access my videos before everyone else, then please sign up to my newsletter: Sue Findlay Designs Newsletter
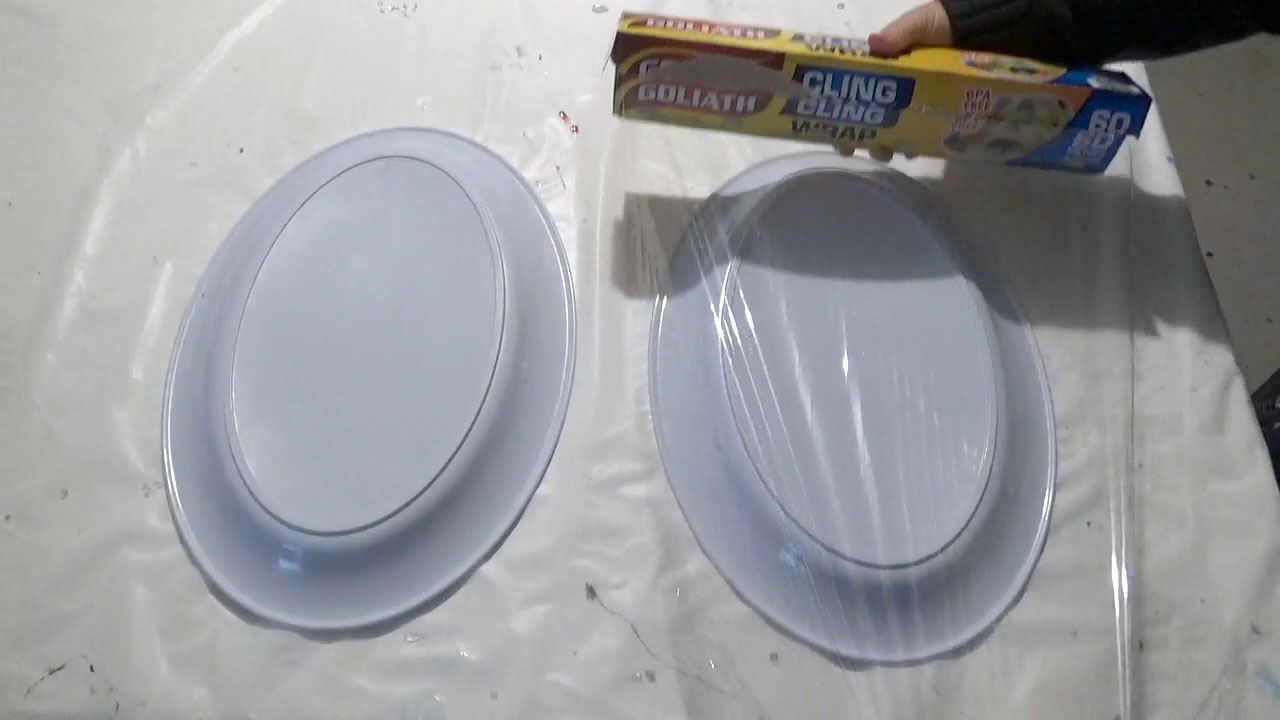
First, we start by laying two oval serving trays upside down. We do this because of the small lip on the bottom and the gentle curve to the centre. This allows for a thicker pour in the middle and prevents the resin from spreading too far.

After the trays have been covered with cling wrap, it is now time to pour the resin. Using a stick, gently move the resin until you have the desired design.
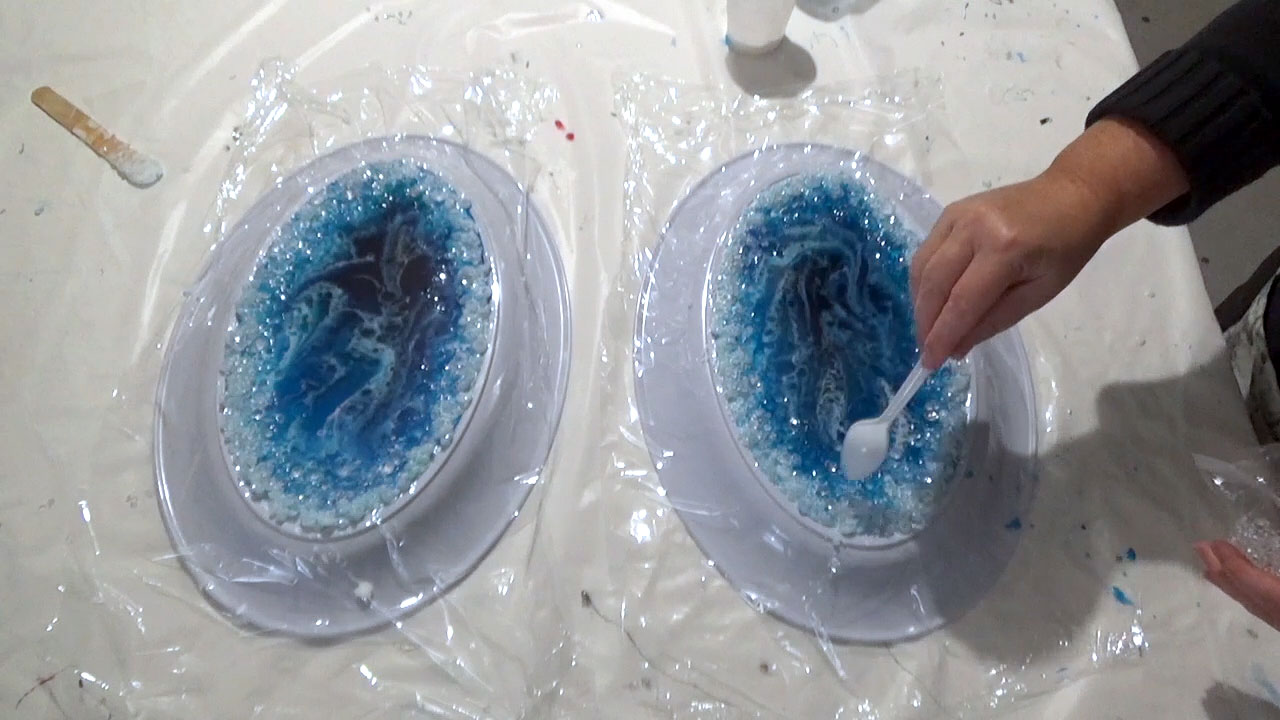
Using a small amount of the white resin, mix it with some of the acrylic diamonds. Make sure they are fully coated and add them to the outside of the flat resin. Also add some clear diamonds on top, to give the look of water droplets.

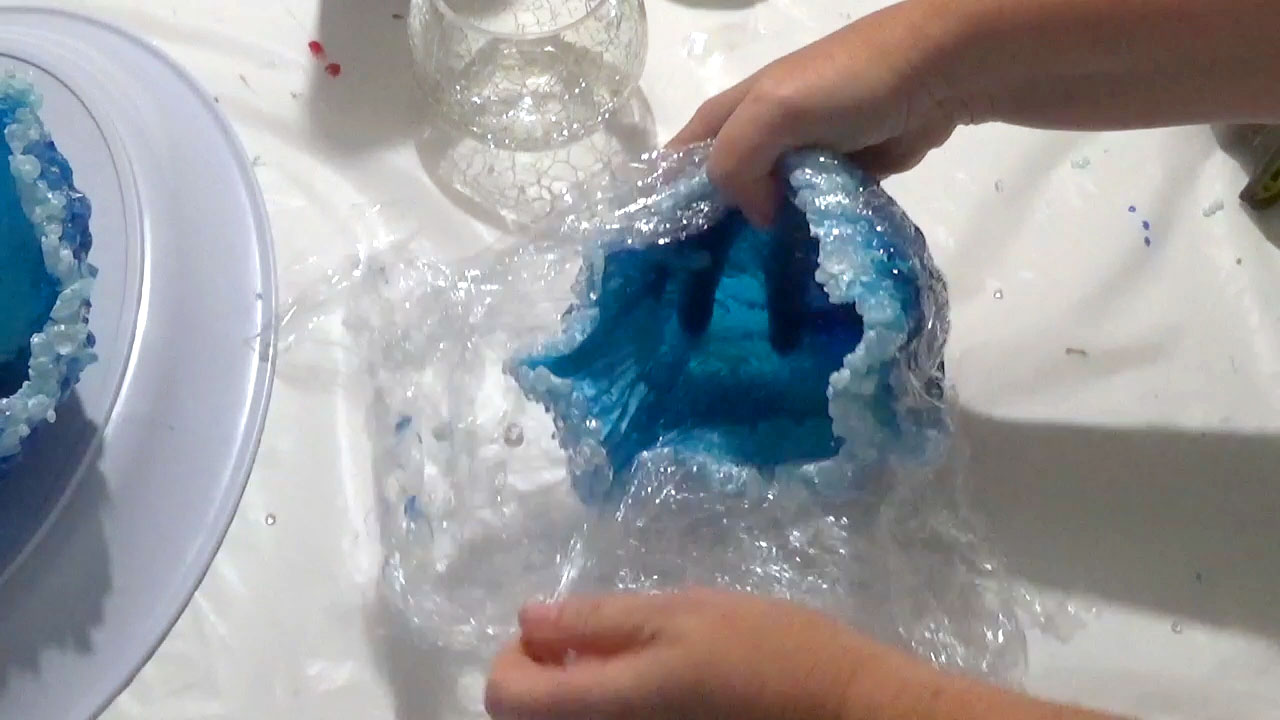
Leave the resin to cure until it is no longer sticky. The perfect time is when you can still see fingerprints. Note, use one of the stirring sticks to test the resin for stickiness. Move it to your shape for moulding. I am using a round vase for this project.

The next day it is now time to remove the vase in the centre. You may need to apply a little heat to help with the removal. The heat allows you to move the resin just enough.
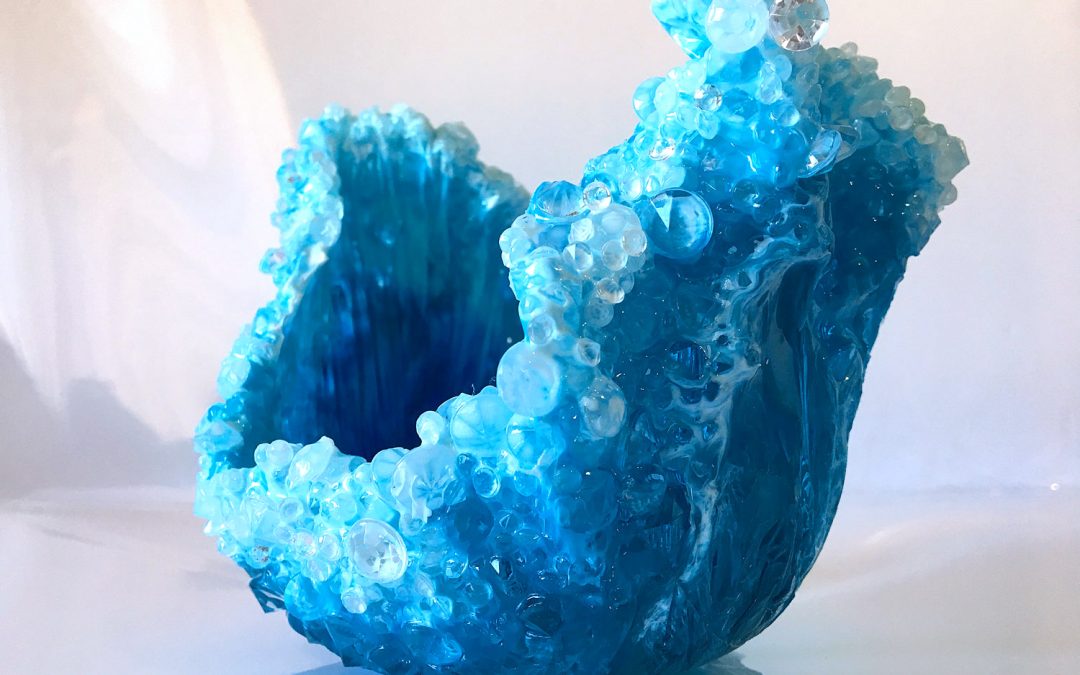
Finally, remove all of the cling wraps and you have your finished freeform resin bowl.
I hope this video has sparked your creativity and has inspired you to create your own ocean-inspired Resin Trinket Bowl.
I would love to see your creations, please join my Facebook Group: Resin and Mixed Media Art Tutorials, and share what you have made.
thank for your video. I´m learning too much
You’re very welcome Marina. I am delighted you are finding them useful.
What kind of resin do you use that dries that fast?
My resin takes 24 hours to cure.
love this ty
Thank you xx
Not really a comment but I don’t have a heat gun can I use a hair dryer? If not is it possible to do this without heat? I was checking out diff diy crafts here on Pinterest and found your resin project and fell in love it’s so beautiful
Hi Carol
Thank you for your enquiry. You can use a hairdryer, however, it may blow your resin around more than you want. A heat gun offers more control over the movement. You can also use a blow torch to pop bubbles, although, you have to be careful to not melt the plastic or burn the resin. Sue
Thank you very much for your time
You’re very welcome.
I started one and the cling wrap doesn’t like to come free. How do you get it to come free
Sometimes you have to add a bit of heat to help it come away. Note, some resins stick to certain plastics. So it is advisable to do test on any new surfaces you plan to pour resin on.
Could you please give me an idea how much resin you used for one bowl? The total amount, not of each color. Thanks!
It all depends on the size of the finished bowl and how thick it is. That could be anything from 200 – 600ml of resin.
Muito lindo seus trabalhos! Parabéns
Muito obrigado
This is beautiful work,I was looking for something to do at home and I know this is it.
Thank you very much
My pleasure, I am delighted that you like it.
Thank you, I love it
My pleasure, glad you like it 🙂
Hi Sue !
I love your videos. I don’t speak much English but I understand you a lot. I am starting to work with resin and I love it. I am in the process of buying your book. Thank you for sharing your knowledge!
Vivian
San Juan, Puerto Rico
My pleasure, I am delighted that you find the videos helpful, despite the language barrier.
Hi Sue I am an artist and love to do different mediums and noticed these bowls you are doing they are extremely beautiful. I am extremely interested in learning the resin Technique, How much is your book? Can you please send me information on what types of resin paints I can use or give me information on how I can get your book, thank you so much.
Hi Tammy
You will find the book in the Resources section of this website. I also have a variety of pigments that you can use with your resin. Those can be found in the Art Supplies area in my online shop. I also have a variety of videos on YouTube.com/suefindlay. If you are looking for more in-depth help, then I have a membership site, Sue’s Creative Circle (courses.suefindlaydesigns.com.au)
Note, if you join Sue’s Creative Circle, you will be able to download the book as part of your membership.
Kind regards
Sue
I did this but instead of using cling wrap I used parchment paper but the inside of my bowl is very dull how do I make it shiny?
Yes, you can apply a very thin layer of resin and it will make it shiny again. I usually wait until I am working on a new project and then using my gloved hand, apply the resin using my fingers. Sue
The resin in the ingredient list is noted as UV resin. How is that different from regular resin (because I noticed you didn’t use a UV light), and can you use regular resin for this project?
Thanks so much, your videos are very informative and inspiring!
The resin is called Standard UV because it has a UV inhibitor in it to slow the yellowing process down that is caused by UV light.
I don’t use a UV light to cure it. It is a standard two-part Epoxy Resin. Sue
What are the diamonds you speak about??
Here is the link to what I use: https://suefindlaydesigns.com.au/art-shop/art-supplies/resin-accessories/decoration-fillers-acrylic-diamonds-table-confetti-scatters/
Sue
Absolutely gorgeous pieces.
Thank you Deborah x
Thanks for sharing your knowledge. I want to start playing with resin and there are so many questions. What do you think is the best brand of colors to tint the resin.? I’d like to mix it w wood for art pieces as well.
Thanks and your bowls are beautiful!
Hi Suzanne
I haven’t used all brands of pigments and pastes, however, I do recommend going for good quality brands. Your colours will go much further as you don’t need a lot. I do like to use India Ink when wanting a translucent look, again, you don’t need much to tint your resin. I love metallic pigments because of the depth it can give on your piece.
Kind regards
Sue