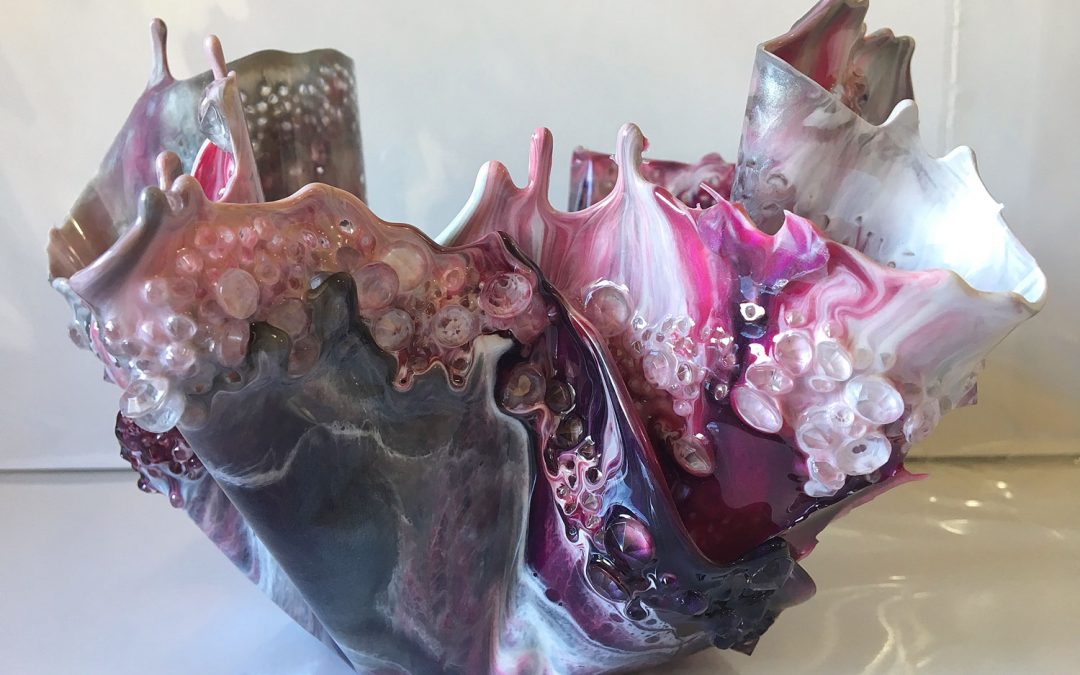
This is another bending/moulding resin video. Only this time, instead of using thin plastic bags or baking paper, I am using a thicker glossy cellophane bag. I am using this for two reasons, the first is to test the finish with using a gloss surface and to see how it conforms when draped over a glass vase. I love the results!
This is a very quick and simple technique that produces fantastic results and is definitely worth giving it a go.
Products used for this project:
Cellophane Bag https://amzn.to/2XHudWP*
Resin from U-Resin
Le Rez Expressions – Warm Magenta Pigment
Le Rez Expressions – Deep Purple Pigment
Le Rez Expressions – Angel White Paste
Le Rez Expressions Powder Pigments are now available to purchase on my website http://bit.ly/lerezpearl
Acrylic Diamonds https://amzn.to/2Y7pVJi*
Vase (to drape the resin over)
Heat Gun or Blow Torch for bursting bubbles
* Note – As an Amazon Associate, I earn from qualifying purchases. I realise that not everyone has access to the shops I have locally, so I have taken the time to find alternative products on Amazon and provide you with links. Please also note, I haven’t personally tried all of the product links, due to location, however, my aim is to help speed up your creative process by providing these links. Every time you click on a link and purchase a qualifying item, I receive a small commission, this payment helps to keep my tutorials free for you to watch.
If you would like to access my videos before everyone else, then please sign up to my newsletter: Sue Findlay Designs Newsletter

First, we start by pouring the resin on to plastic, I am using cellophane bags that I already had in stock.
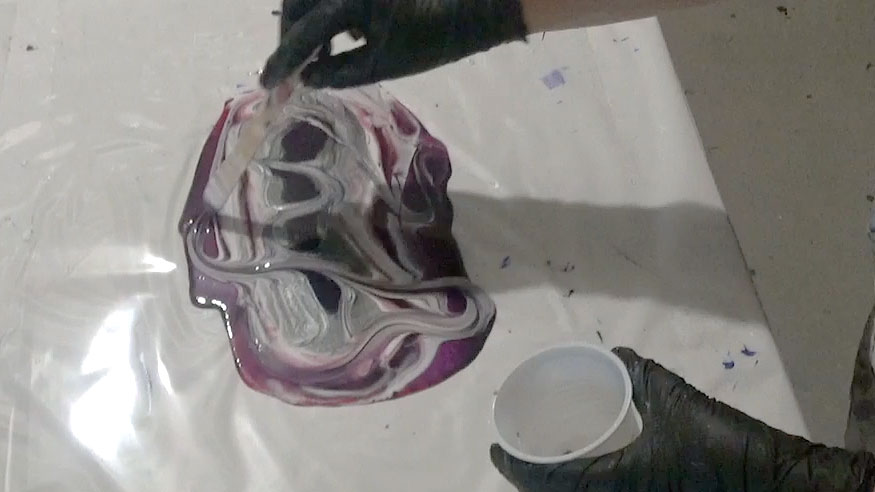
Using a little bit of mineral turpentine on the stick, I then moved it around to mix it up slightly. Don’t go mad at this stage, as you don’t want to muddy the colours.

Then add acrylic diamonds or crushed glass to the outer edges of the resin. Don’t add any to the centre, as it will make your dish unsteady.
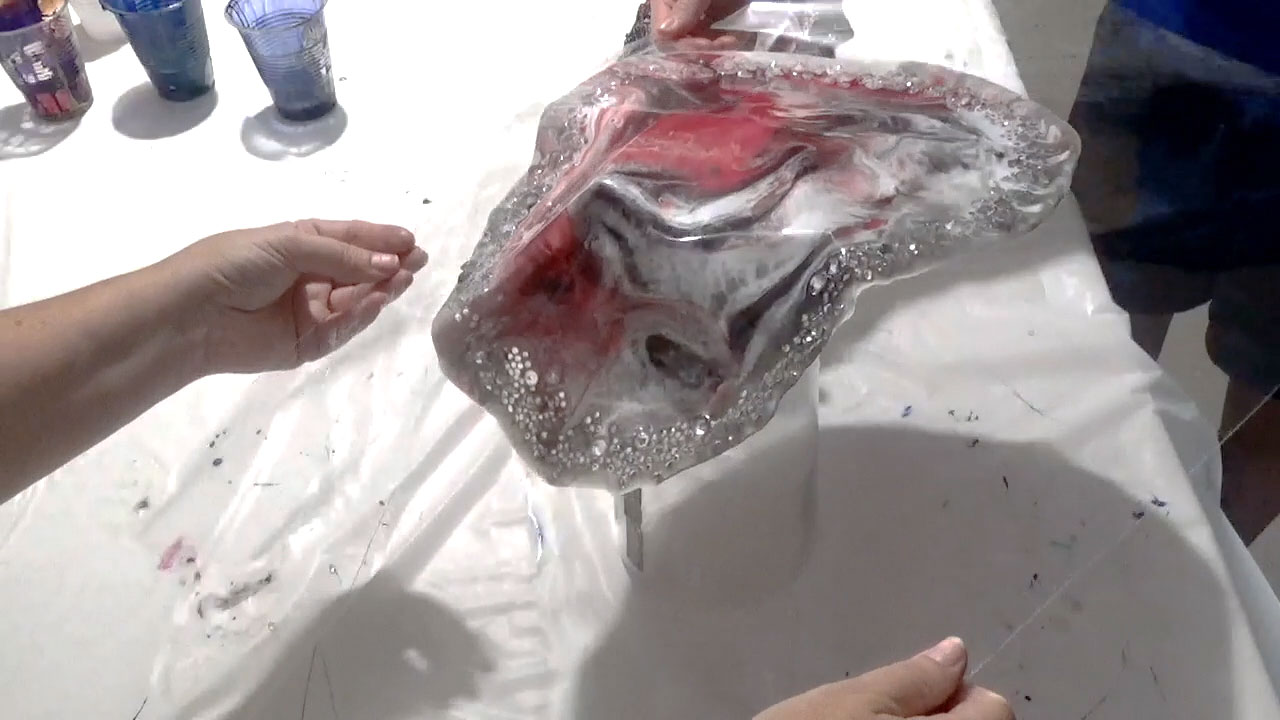
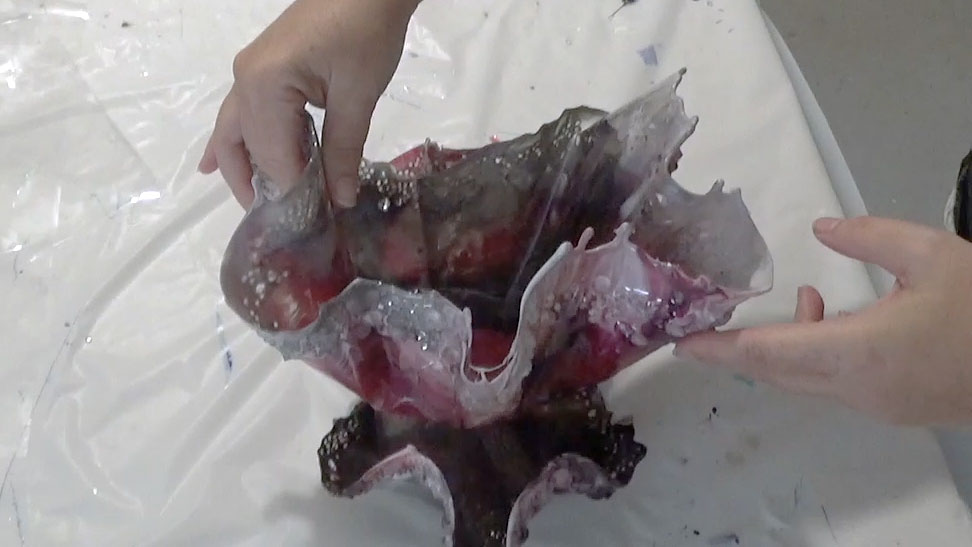
Leave to cure until you can touch the resin, however, it is still bendy. Times will vary depending on your resin. Then move it to a vase or something similar. You may need the help of someone to move it to the vase.

Next, cover the first layer with another sheet of plastic before moving the other layer on top. Again, you may need some help transferring it across.
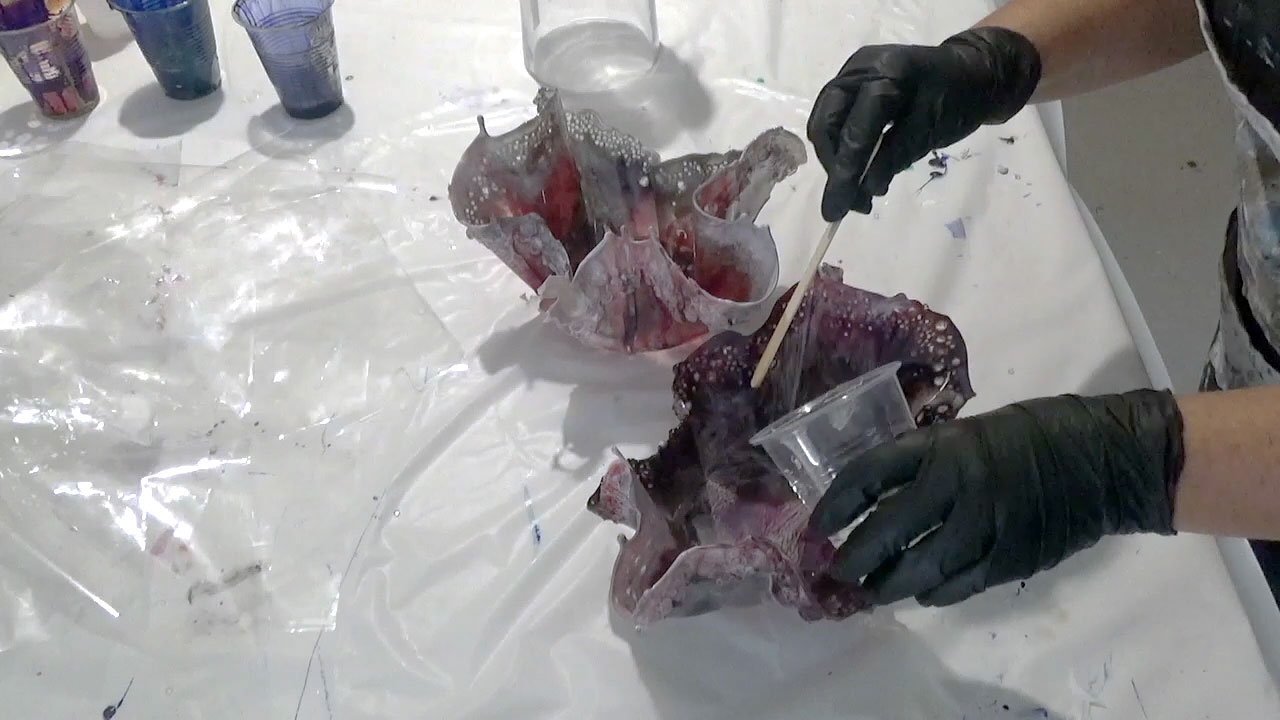
Leave it to cure over night before removing from the vase. Remove all plastic and pour a very small amount of resin to the bottom layer and using your gloved hand, coat the inside edges with the resin.
Finally, insert the top layer and leave to cure for further 24 hours.
I hope this video has sparked your creativity and has inspired you to create your own Resin Trinket Dish.
I would love to see your creations, please join my Facebook Group: Resin and Mixed Media Art Tutorials, and share what you have made.
Totally new ideas for me! You are very easy to follow! I will be trying these soon! Thank you!!!
Thank you for your feedback and lovely comments.
How many ounces of each color resin did you use? In the video it looks like it would be about 2oz of each color per layer.
Is this accurate?
Thank you
I don’t work in ounces. I used about 200-300ml of resin.
Can you use bubble wrap for this design. Love this
I have seen others use bubble wrap. As always it is recommended that you do some test pieces to make sure your resin doesn’t stick to the plastic.
Sue x
Such a lovely piece I really want to try something similar but am a bit nervous as I am fairly new to resin any tips you can give a newbie would be very welcome.
From all resin videos on the internet you are by far the best! So easy to follow and to the point. I have taken online resin courses whick took hours and hours, with very basic information, but with you I learned so much in only few minutes!
You are truly amazing and I am all yours now 🙂
Thank you, Cornelia
I am delighted you have found my videos to be useful.
Sue 💕