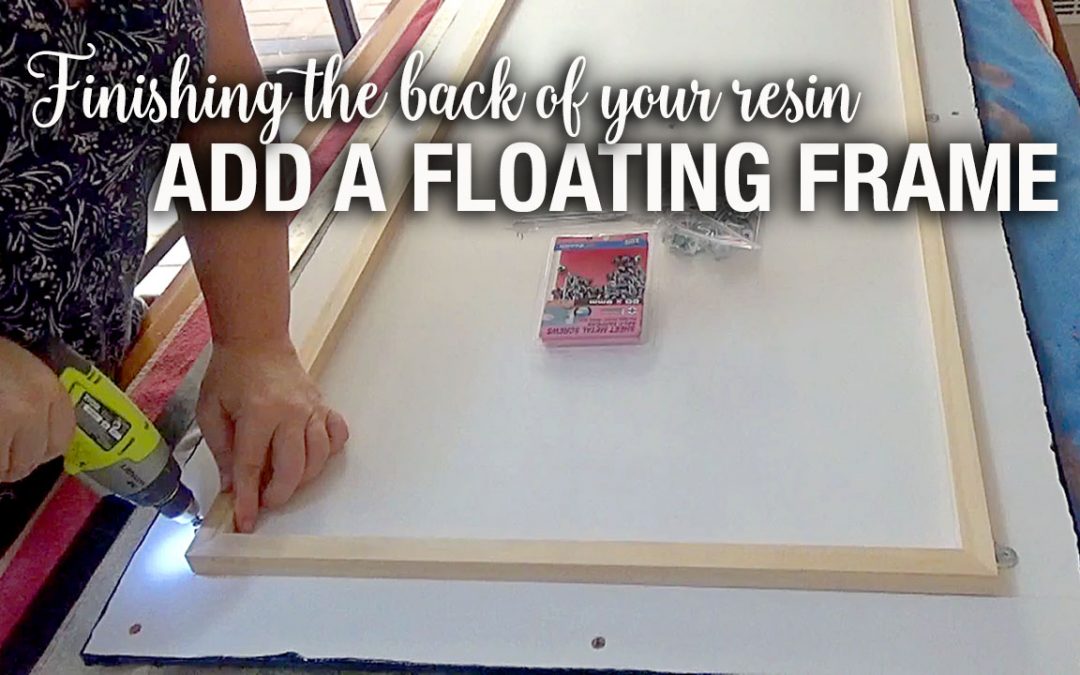
I am often asked how I finish off the back of my resin art and what do I use to hang heavy pieces.
In this video, I show you how I add a floating frame to my larger resin artworks. The frame helps to strengthen the board and to prevent warping from moisture.
Many of the boards I buy already come with the back braced and don’t require any further bracing. However, if like me, you like to use regular MDF boards from your local hardware store, or if you make your own boards. Then this method is a good alternative and gives the impression that your artwork is floating.
You could go a step further and add LED lighting to the back to backlight the artwork.
In this video, I also show you how to make your own hanging hooks to fit into a gallery rail system.
For this project I used:
- 12mm thick MDF board from my local hardware store
- 18mm deep wooden frame. I had my framer make this for me
- PVA Glue or Elmar’s Glue: https://amzn.to/2k01bUf – US | https://amzn.to/2JIyaFy – UK
- L-shaped Brackets: https://amzn.to/3bQpdqs – US | https://amzn.to/3cYsuE5 – UK
- D-Rings for hanging: https://amzn.to/2WEqusw – US | https://amzn.to/2qR3Ja4 – UK
- Sawtooth Hanger: https://amzn.to/2ShECIn – US | https://amzn.to/2KOT1HS – UK
- Hanging Cord: https://amzn.to/3bQvodZ – US | https://amzn.to/2YuypNx – UK
- Gallery Hanging Rail Kit: https://amzn.to/3f49hTp – US | https://amzn.to/3f52rNy – UK
Books
If you are new to resin, then take a look at my beginner’s book, The Essential Beginner’s Guide to Resin Art Techniques.
eBook version: (http://bit.ly/resinguide)
Paperback version: https://amzn.to/2XEmqxn (US)* | https://amzn.to/2NMKAkY (UK)*
*Sales from this guide also go towards funding my YouTube resin tutorials.
Thank you for your support.
* Note – As an Amazon Associate, I earn from qualifying purchases. I realise that not everyone has access to the shops I have locally, so I have taken the time to find alternative products on Amazon and provide you with links. Please also note, I haven’t personally tried all of the product links, due to location, however, my aim is to help speed up your creative process by providing these links. Every time you click on a link and purchase a qualifying item, I receive a small commission, this payment helps to keep my tutorials free for you to watch.
If you would like to access my videos before everyone else, then please sign up to my newsletter: http://bit.ly/SueFindlayNews
I would love to see your creations, please join my Facebook Group: Resin and Mixed Media Art Tutorials, and share what you have made.
I hope you enjoyed this video tutorial.


That’s amazing!
What a great effect it gives.
Looks so easy to do, I’d love to try it see if it’s as easy as for me.
Hi Simone
Yes, it is easy and does look quite effective.
Good luck with your project.
Sue x