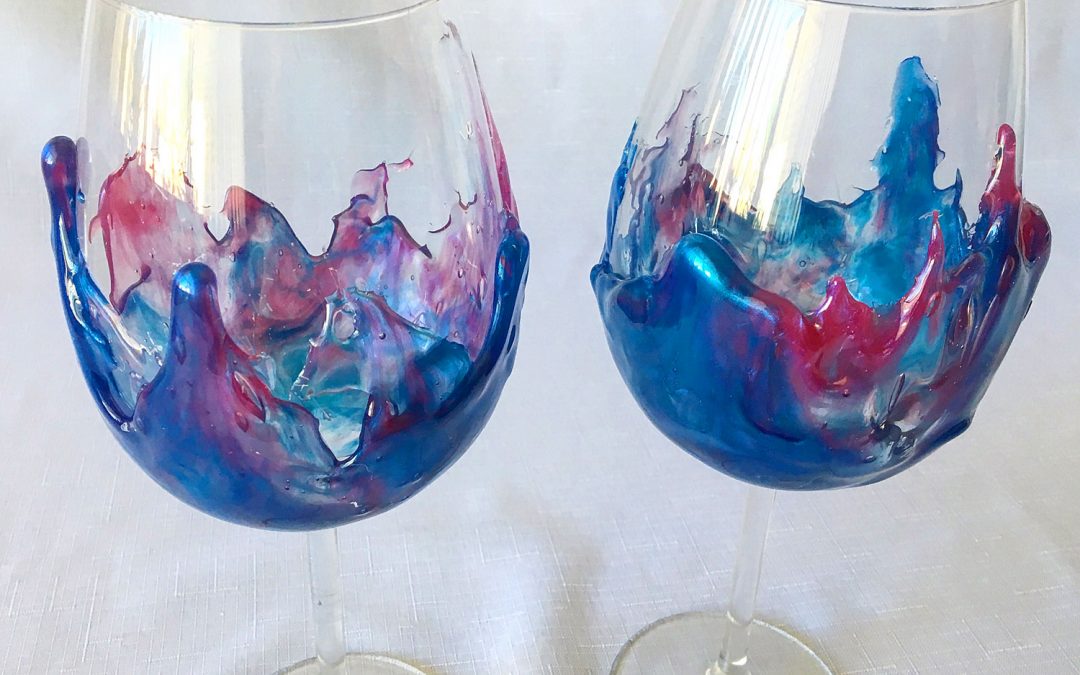
In this video, I show you how to transfer resin from baking paper to a wine glass.
If you were to pour the resin directly to a wine glass, it would run straight off, yes, you would still have a bit of resin, but nothing to write home about.
By pouring the resin on to baking paper and leave it to cure for a couple of hours, you can then transfer it to the wine glass and then with a little bit of heat, create the drips.
Materials used in this project:
- Large Wine Glasses
– https://amzn.to/2CSn7XN – US*
– https://amzn.to/2Ug1NoK – UK*
– https://amzn.to/2TY8bSe – AU* - U Resin
- Le Rez Expressions – Cosmic Blue
- Le Rez Expressions – Magenta Blues
- Baking Paper
* Note – As an Amazon Associate, I earn from qualifying purchases. I realise that not everyone has access to the shops I have locally, so I have taken the time to find alternative products on Amazon and provide you with links to Amazon stores in the US, UK and Australia (if available). Please also note, I haven’t personally tried all of the product links, due to location, however, my aim is to help speed up your creative process by providing these links. Every time you click on a link and purchase a qualifying item, I receive a small commission, this payment helps to keep my tutorials free for you to watch.
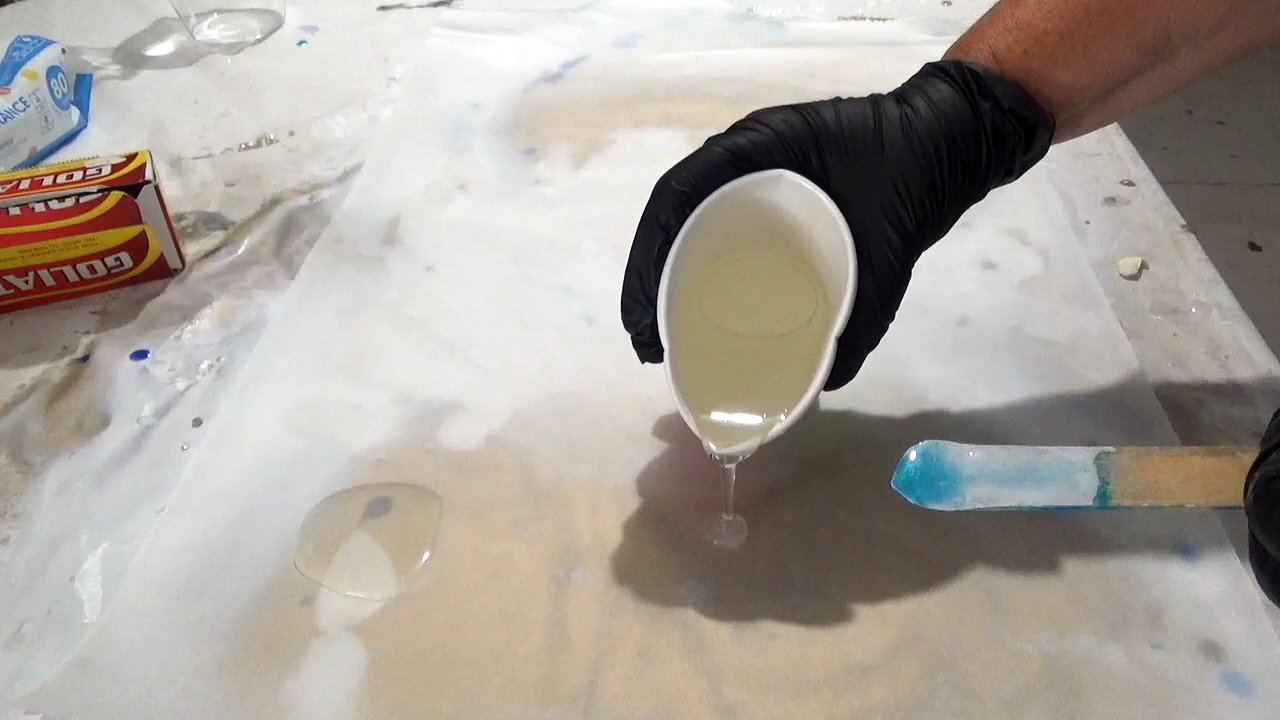
Firstly, I poured clear resin on to some baking paper. Wax paper or parchment paper will work also.
I left a bit of a gap between pours to separate the resin.
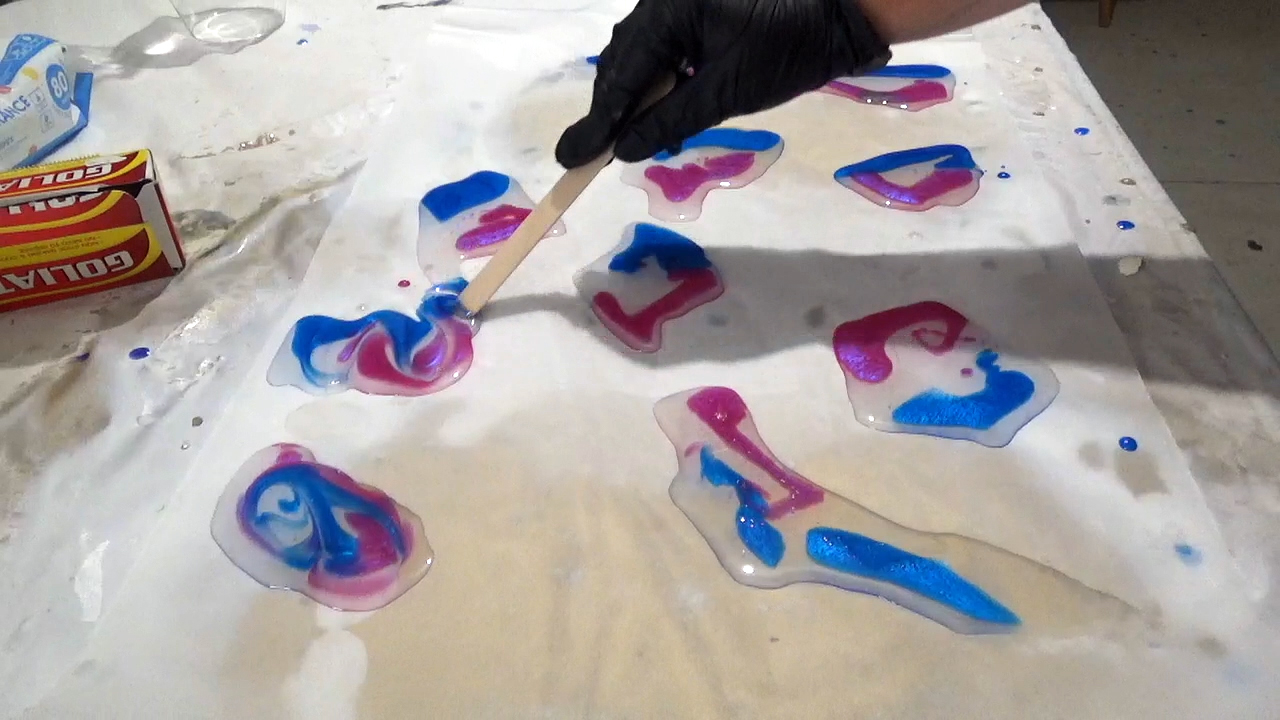
Next I added some tinted resin to the clear resin and then using a wooden stirrer, I gently swirled it in the resin.
Be careful not to overmix the colours, you want to keep the vibrancy of the colours and retain some of the clear.

I then left the resin to cure for a few hours, checking on it regularly to see the consistency.
You want to aim for a semi cured resin, you can touch it gently and it is not sticky to the touch.
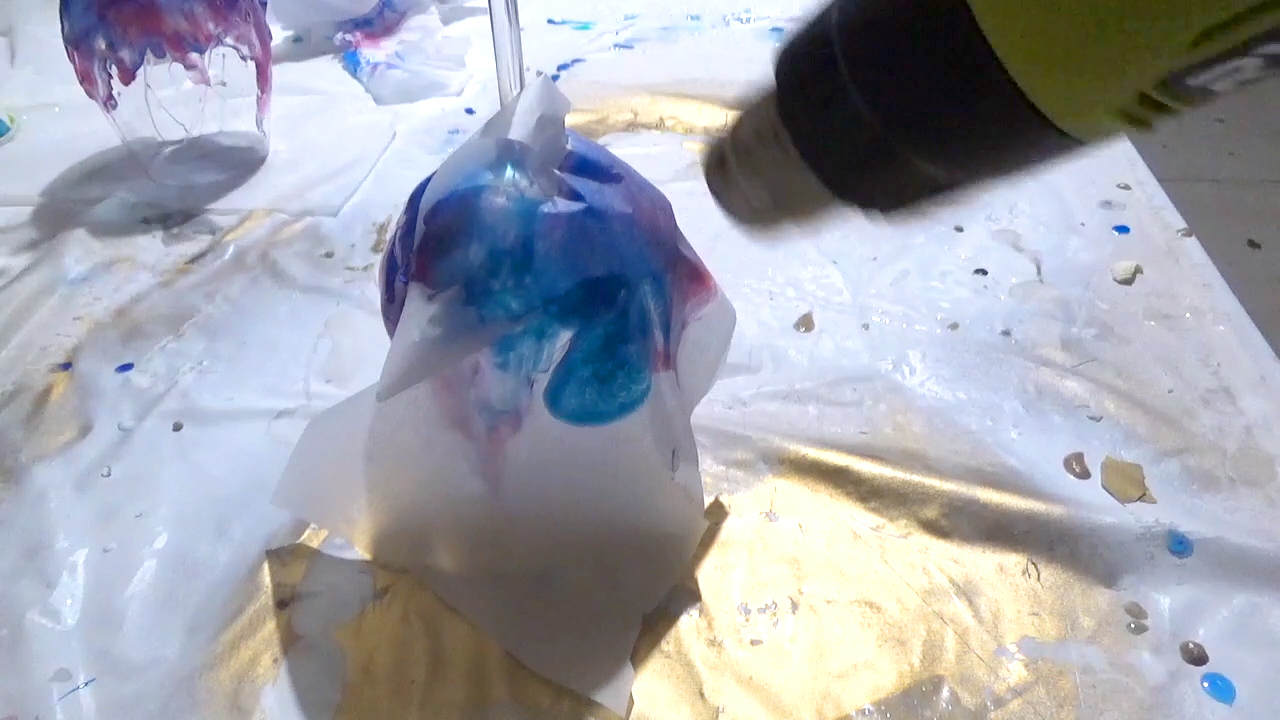
Once you are happy with the consistency, you can then apply it to the glass. Using the heat gun, I warmed the resin slightly to help remove the parchment paper.
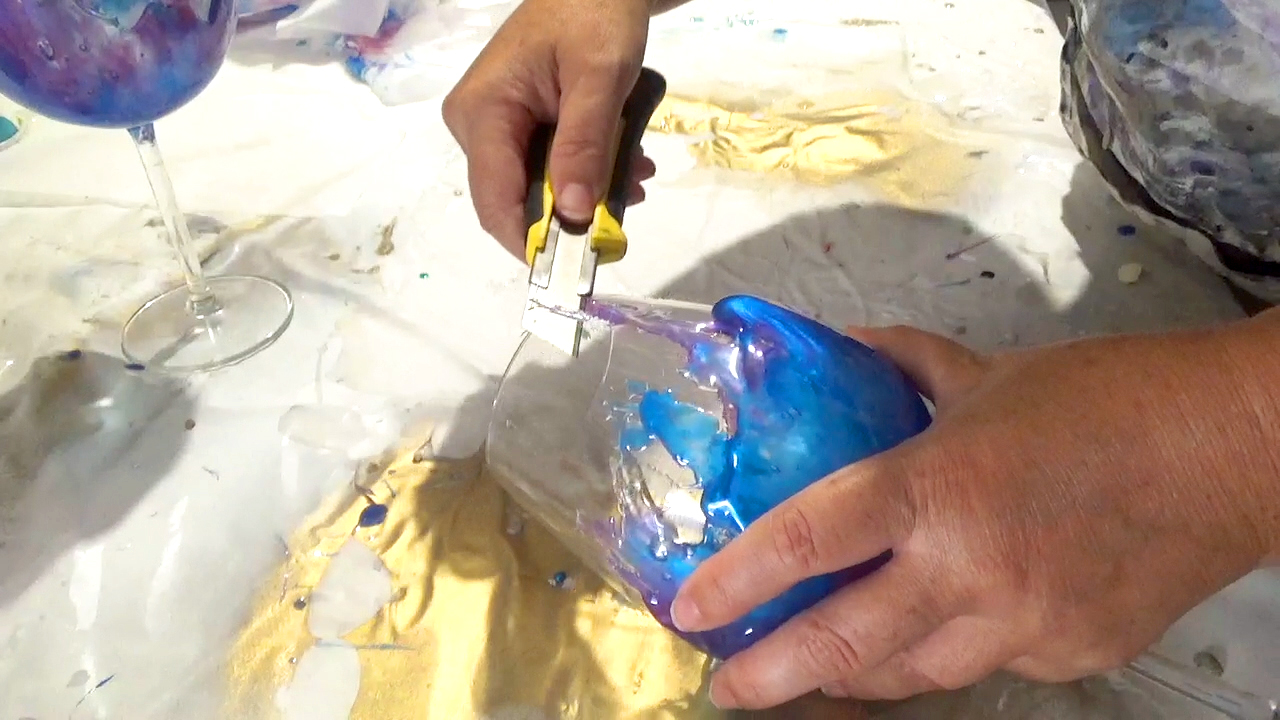
The resin was then left to cure overnight. The next day, I used a sharp knife to remove any excess resin, paying particular attention to the rim of the glass, as you don’t want any resin left where the mouth can be in contact with the resin.
Finally, I cleaned the glass, first with rubbing alcohol and then with soapy water to remove any residue.
I hope this video has sparked your creativity and has inspired you to create your own Epoxy Resin Wine Glass.
I would love to see your creations, join my Facebook Group: Resin and Mixed Media Art Tutorials, and share what you have made.

Love love love these. Thank you so much!! I can’t wait to start playing.
My pleasure, good luck with your project.
Does using the heat gun join the sections of resin? as looks like you poured it in smaller sections.
Hi Dawn
No, a heat gun doesn’t join the resin. The resin was still tacky and so stuck on itself.
Sue x