In this video I am once again using the Silicone Pet Mat, only this time, I have lined it with cellophane. This is for two reasons, the first is to give the back a nice glossy finish without the need for any further work and two, I didn’t want a hard edge on three of the sides.
Note: I taped the bottom edge to stop any resin flowing underneath the cellophane.
Once it was semi-cured, I removed the silicone mat and placed another piece of cellophane on top of the resin. This was to prevent the resin from sticking to the glass as I rolled it. I then manipulated the top edges to curl and soften them. I didn’t want a straight edge like in my other bending resin techniques.
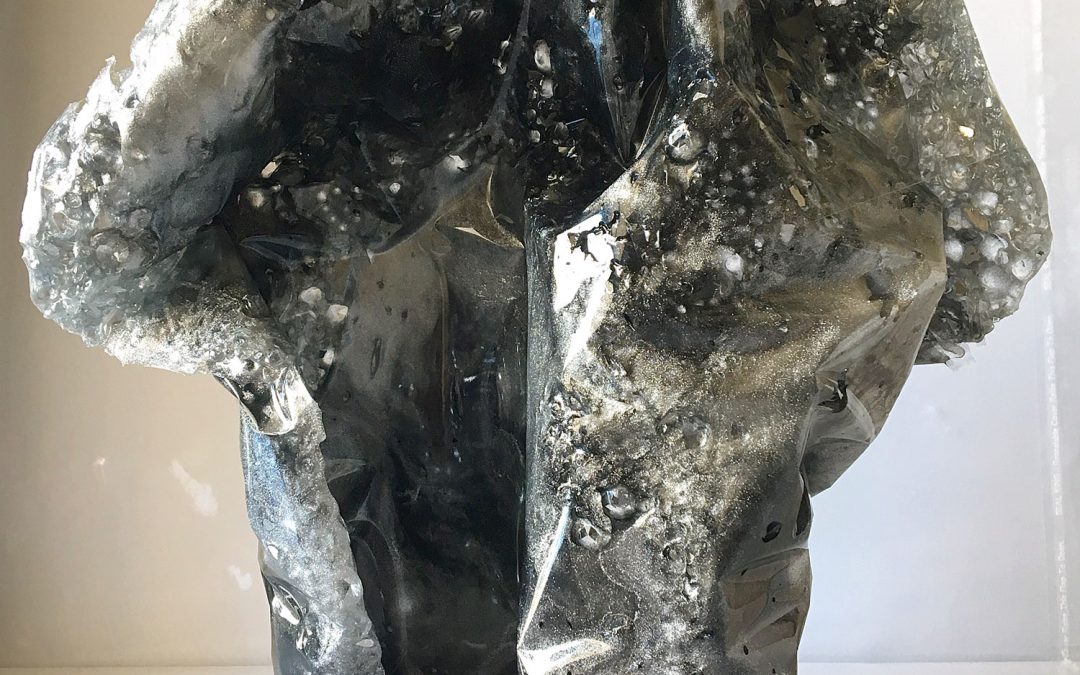
It was then left to cure overnight. The next day, I realised that I should have supported the top of the sculpture more because the weight has caused it to collapse on itself. However, you will see in the video how I was able to salvage it by applying heat to the resin and bending it back into shape. I wasn’t able to get it fully to where I wanted it, however, I was still happy with the results and it is something to be mindful next time. And of course, seeing my mistake will definitely help you with your project.
I filmed the intro to this video at the gallery where all my pieces end up for sale. I rent a small amount of wall space and man the gallery on Saturdays. Anyway, I digress, I thought you would like to know that this piece sold the very next day :-). I am telling you that, because if you have a piece that you think is not up to your usual standard, there will always be someone who loves it.
So for this project I used:
- Silicone Pet Feeding Mat 30 x 40 cm http://bit.ly/petfeedmat
Alternative Product: Silicone Swiss Roll Mat https://amzn.to/2HTa7Fh* - Resin from U-Resin
- Le Rez Aluminum Powder – Silver Knight http://bit.ly/aluminumpowder)
- Artisue Powder Pigment – Steel
- Crushed Glass from Ikea (alternative product: https://amzn.to/2WCPS1R*
- Cellophane Wrap https://amzn.to/2Oj8Uri*
- Glasses for support
- Cellotape to hold the sculpture in place while curing
- Heat Gun or Blow Torch for bursting bubbles
* Note – As an Amazon Associate, I earn from qualifying purchases. I realise that not everyone has access to the shops I have locally, so I have taken the time to find alternative products on Amazon and provide you with links. Please also note, I haven’t personally tried all of the product links, due to location, however, my aim is to help speed up your creative process by providing these links. Every time you click on a link and purchase a qualifying item, I receive a small commission, this payment helps to keep my tutorials free for you to watch.
If you would like to access my videos before everyone else, then please sign up to my newsletter: Sue Findlay Designs Newsletter

To begin with, I have placed a cellophane bag on top of the silicone mat and have taped the bottom edge to make sure resin doesn’t creep underneath the bag. I have allowed the other three edges to hang over the sides of the mat because I don’t want a hard edge on these sides.
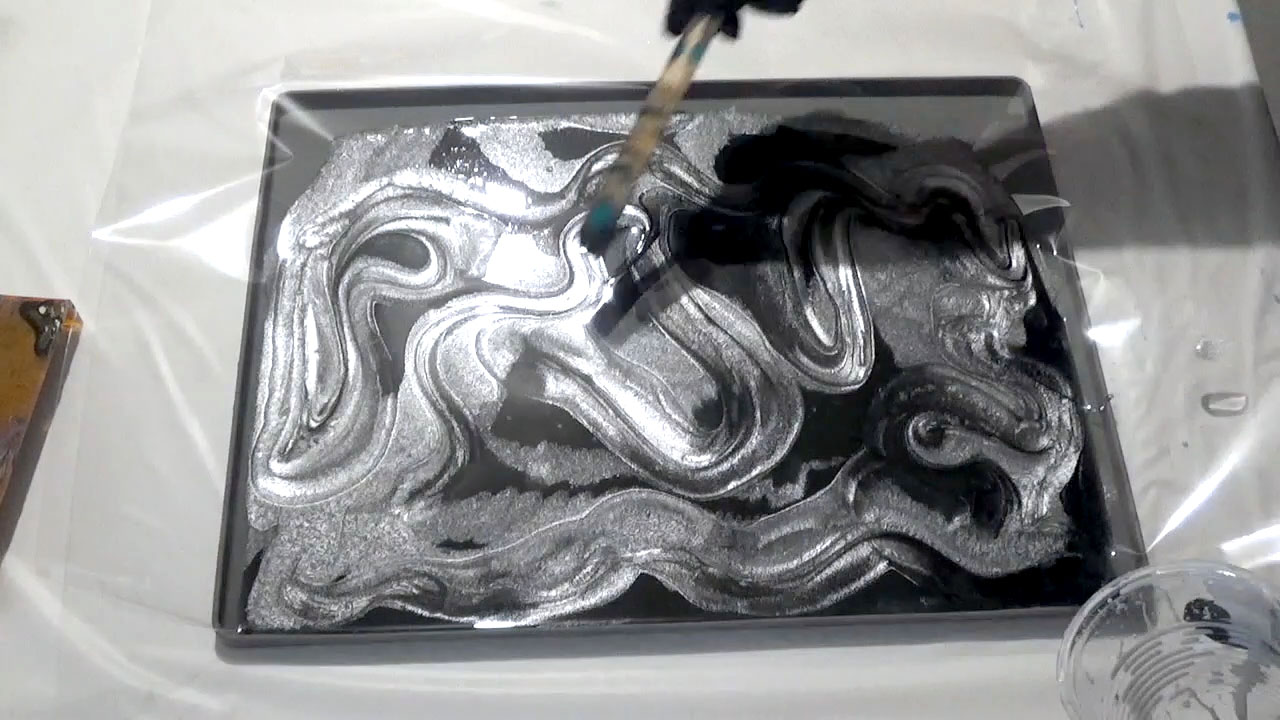
To add a bit of movement, I used a little mineral turpentine which was applied with a stick to the poured resin.
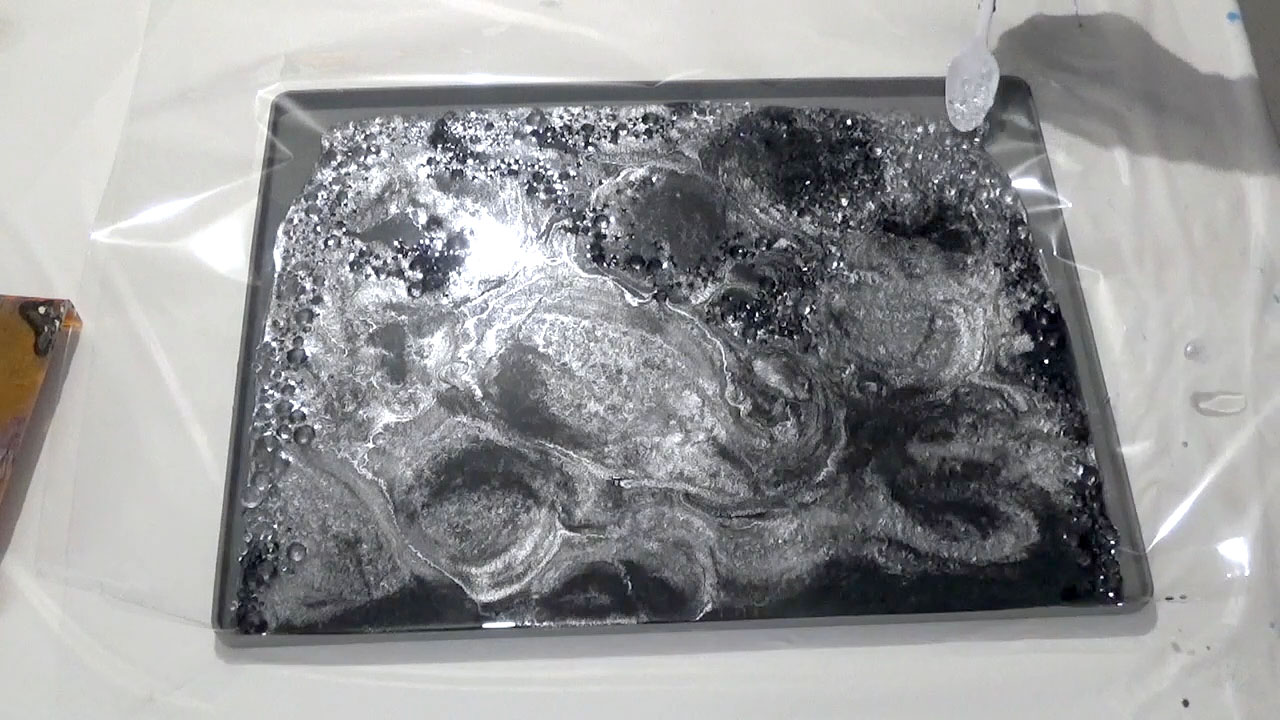
Next, crushed glass was added to the top and sides of the resin. Followed the shape of patterns, I also added crushed glass through the centre.
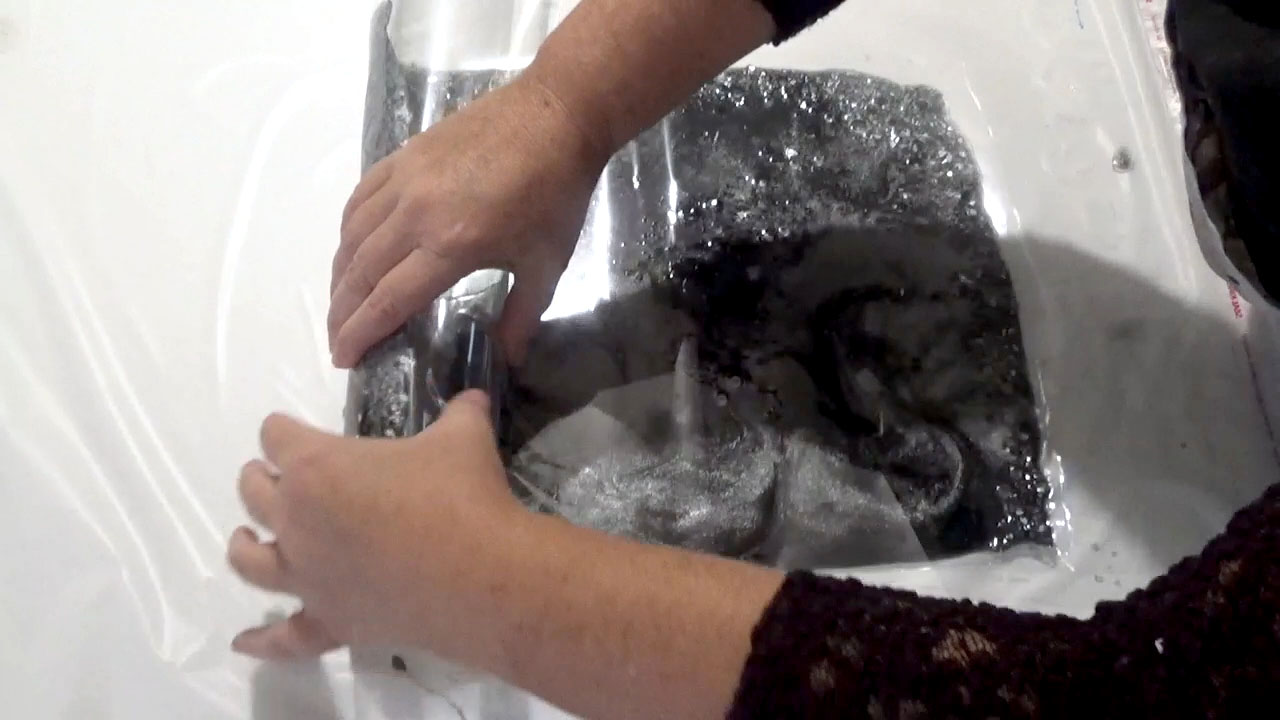
After leaving it to cure for about three hours, I removed the mat and placed another cellophane bag to the surface of the resin, so that it doesn’t stick to the glass, then began rolling the resin. It is rolled about a quarter of the way across the resin.

Next, it is flipped over and using the same technique, it is rolled onto another glass. It has been secured with cellotape.
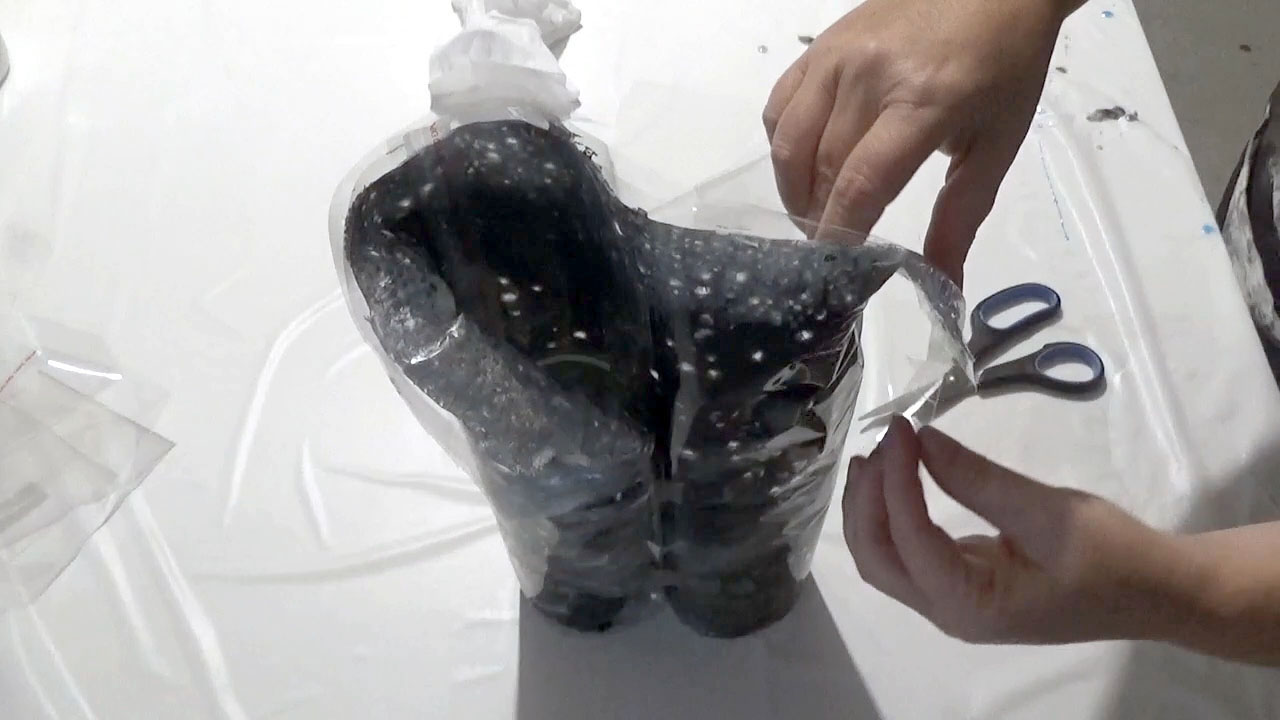
Now it is time to shape the top edges, the plan was to curl the edges back to add extra dimesion. The excess cellophane was trimmed back to make this process easier. Once again, it was secured with cellotape.

Finally, after curing overnight, I found that the shape had collapsed on itself. However, not to be deterred, I used my heat gun to help mould it back into shape and once again it was taped up and left to cure for a further week.
I hope this video has sparked your creativity and has inspired you to create your own Freeform Resin Sculpture.
I would love to see your creations, please join my Facebook Group: Resin and Mixed Media Art Tutorials, and share what you have made.