In this
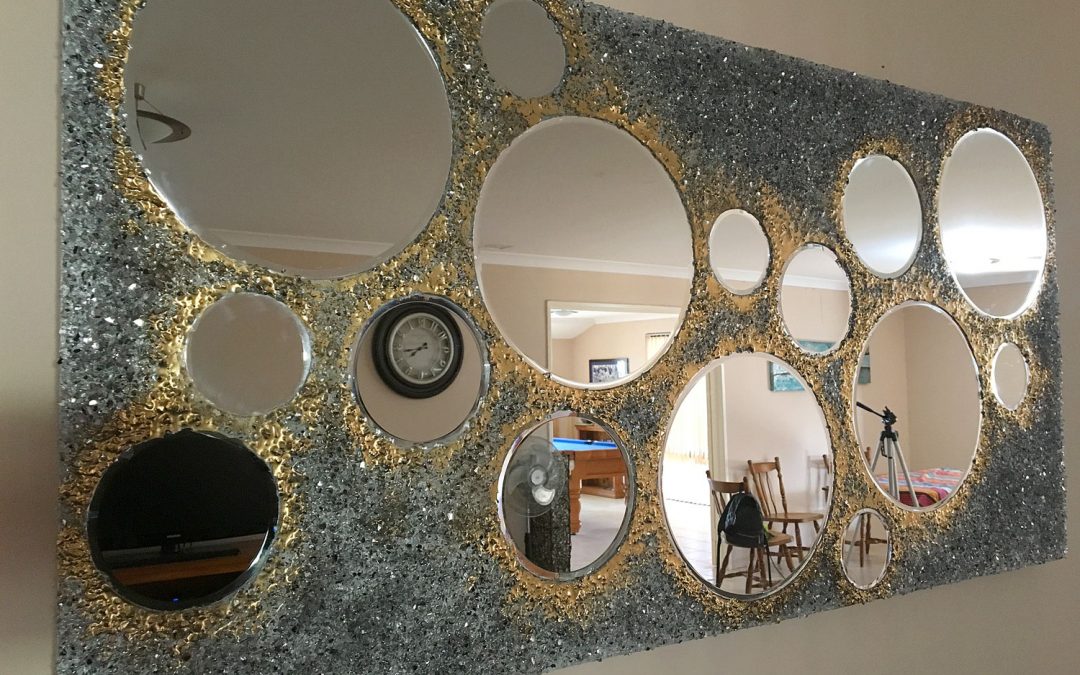
The main living area of my home is situated in the centre of my house. On a dull day, very little light comes into the room and I end up having to put lights on. So I came up with the idea to put a mirror up to help bounce light around the room.
So for this project I used:
- 120 x 60 cm MDF board (9mm thick)
- 1.4 litres of resin (from U-Resin)
- Different size mirrors https://amzn.to/2D3dV2w*
- Crushed Glass from Ikea (alternative product: https://amzn.to/2WCPS1R*
- White Knight Super Gold Spray Paint
- Bracing for the back (to strengthen and mount away from the wall)
- D-Rings for hanging https://amzn.to/2WEqusw*
* Note – As an Amazon Associate, I earn from qualifying purchases. I realise that not everyone has access to the shops I have locally, so I have taken the time to find alternative products on Amazon and provide you with links. Please also note, I haven’t personally tried all of the product links, due to location, however, my aim is to help speed up your creative process by providing these links. Every time you click on a link and purchase a qualifying item, I receive a small commission, this payment helps to keep my tutorials free for you to watch.
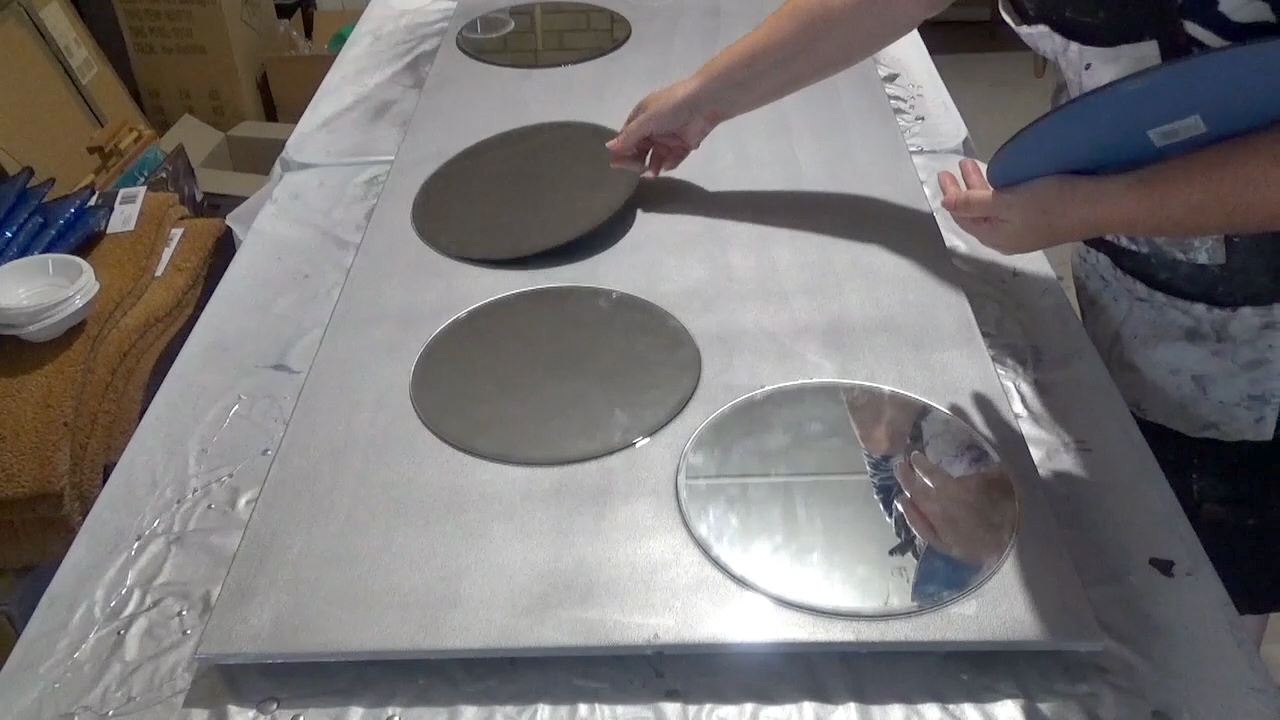
First, the board was primed with two coats of primer (front and back) and painted silver on the front.
Once dry, I poured a thin layer of resin and laid the mirrors into the resin.

Next I added crushed glass to the resin around the mirors.

Whilst still curing, I then spray a metallic gold spray paint into a cup and using a stick, drizzled it around the edge of the mirror.

Once cured, the mirrors were cleaned up by heating the excess resin with a heat gun and using a sharp knife, was removed from the glass.
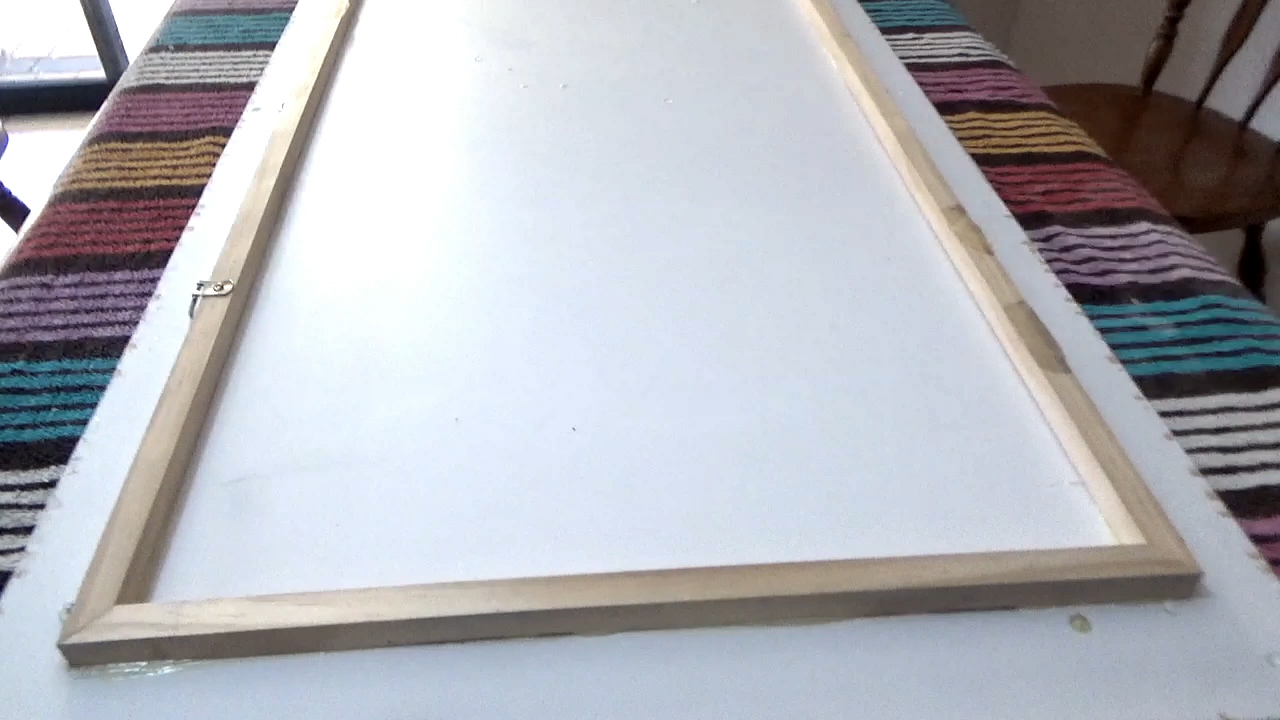
Finally, a frame was attached to the back to stop the board from warping and to give it added strength. It also doubles up as a nice feature to give the impression that the mirror is floating on the wall.
Heavy duty D-rings were also added to the frame, so that the mirror lies hard up to the wall.
I hope this video has sparked your creativity and has inspired you to create your own Crushed Glass and Resin Mirror.
I would love to see your creations, please join my Facebook Group: Resin and Mixed Media Art Tutorials, and share what you have made.
Oh, it’s Wonderful!!
Thank you, I am delighted you like it.