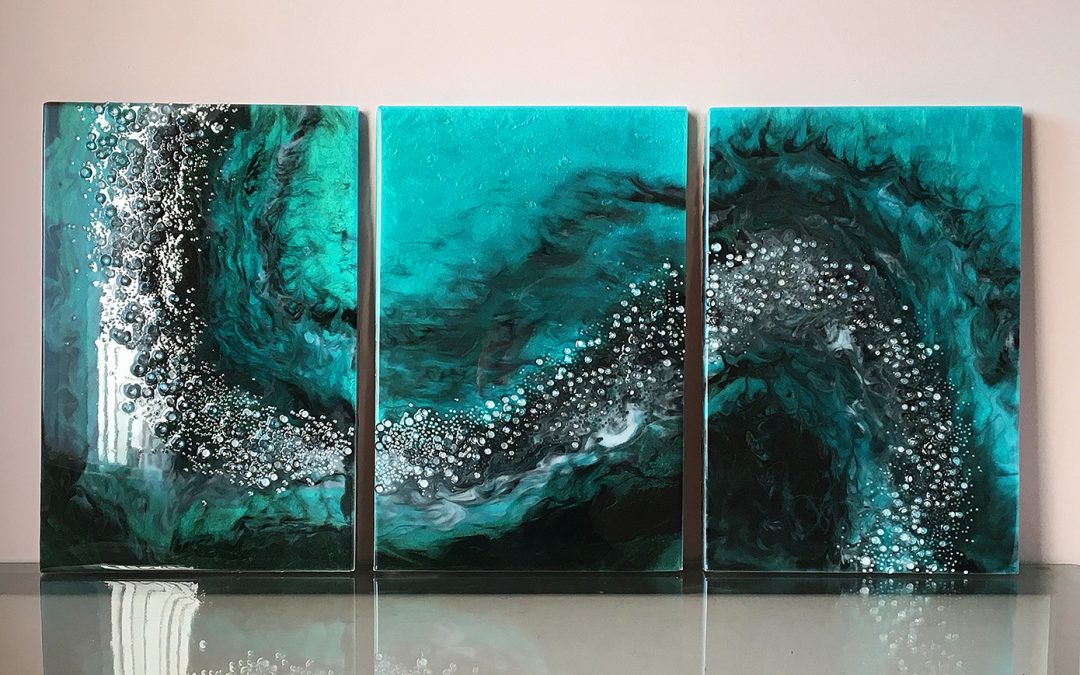
This project shows how to create a ‘river flow’ across three panels.
This is a very simple project, but with right techniques you can create a very dramatic effect.
Materials I used, however, you can use whatever materials you have to hand.
3 x Artist Boards 45 x 30 x 2cm
Resin – I used U Resin Standard UV (approximately 1.6 litres)
Colour Obsession Pigment – Teal
Global Acrylic Paint – Black
Global Acrylic Paint – White
Foil Tape (What I had to hand)
Heat Gun

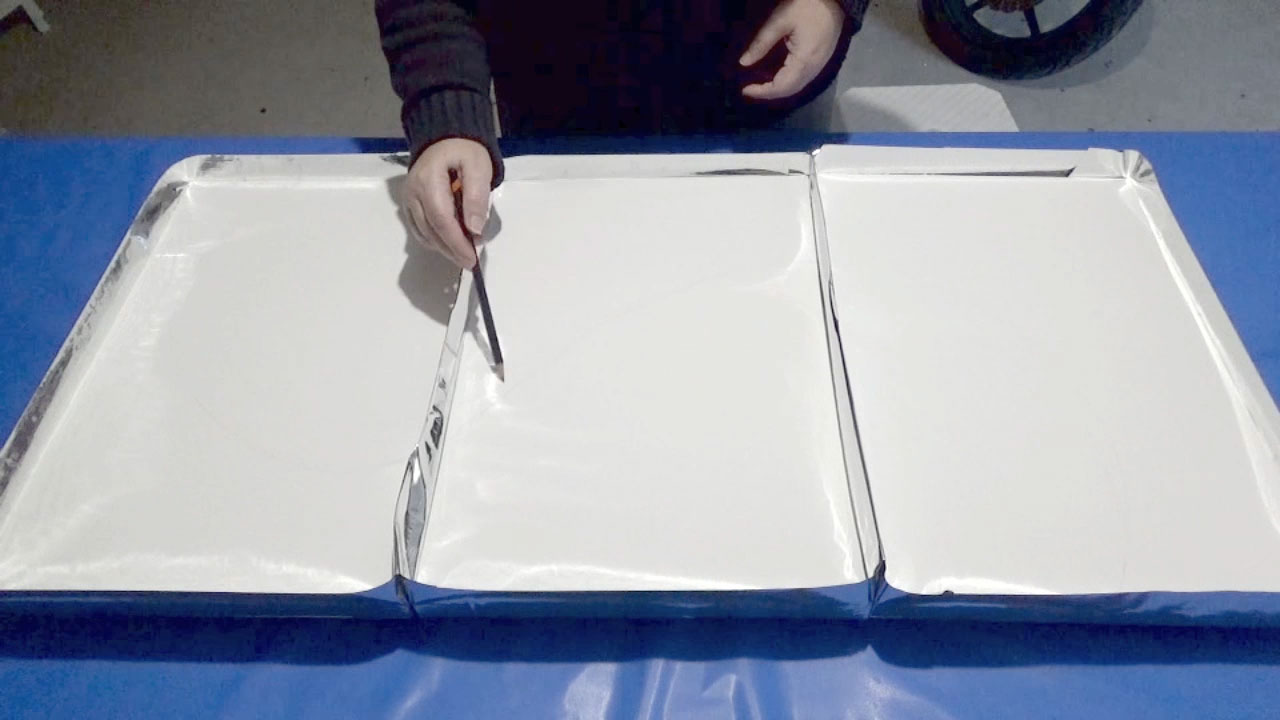
Firstly, the boards were primed front, back and sides and left to dry for about a week. Now to tape the sides, I used a foil tape, but you can use painters tape or one that you normally use. Make sure your tape is raised above the sides of the board to create a dam. Push your boards together and where they meet, add more tape, so that the resin doesnt flow down the joins when you pour.
Now to sketch out your design, I am using a 2B pencil, although, any marking implement will do. For this I have drawn a simple wave. For those of you that I have seen my previous works, will know that I do a lot with waves and curves.

Following the shape of your design, pour two contrasting colours next to each other. The more contrasting, the more dramatic the effect. Don’t worry if your colours blend slightly, we are going to manipulate them very soon.
Note, I have added some of the teal colour to the black to make it denser.

Once your background is poured, now to add the next layers. First I poured white on top of the black.

Quickly followed with more layers of the teal and black. Make sure you pour in the same direction of the wave and leave small gaps between colours. It doesn’t matter if they overlap slightly.
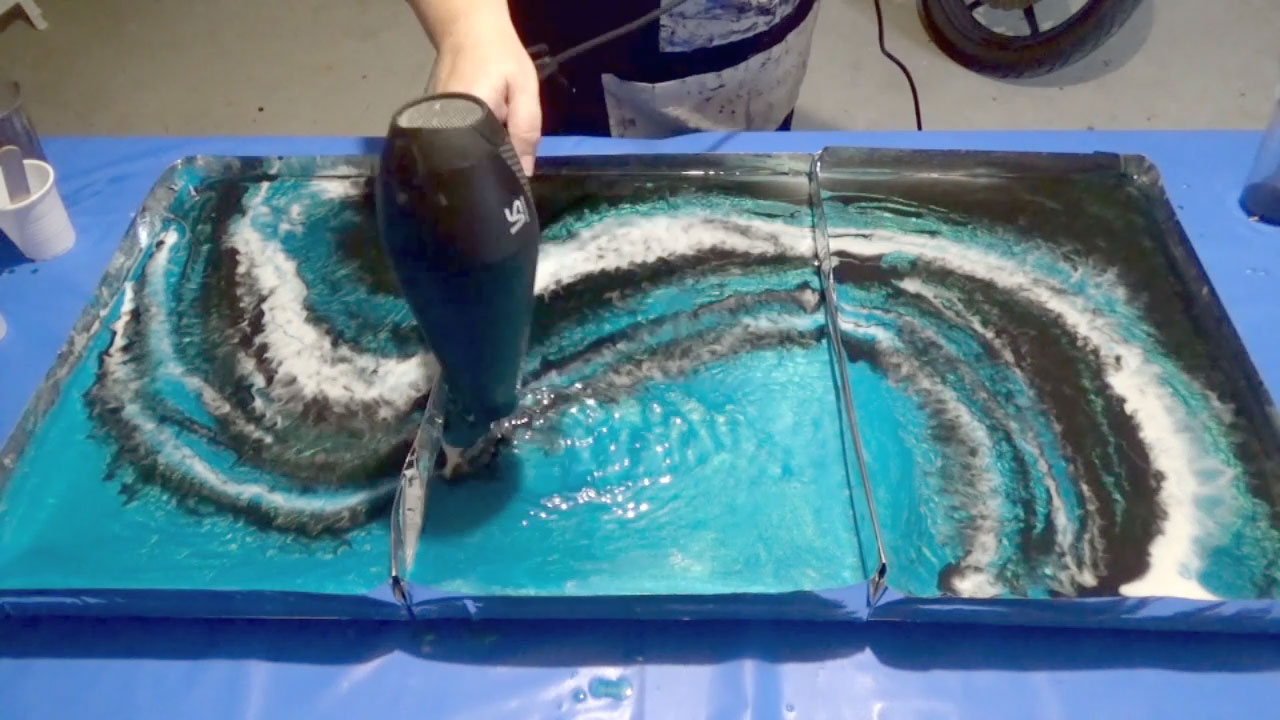
Once all your colours are poured, it is now time to create movement. Water doesn’t move in nice neat lines, so using a hairdryer, gently blow the resin, being careful not to over do it. We just want a bit of movement.

Next use your fingers to ‘rough up’ the resin. Don’t drag your fingers through it, we don’t want to muddy it. Simply drum your fingers through the resin. This creates a great mottled effect, especially in the teal areas, making it look like real water. Again don’t over do it. Less is definitely more!

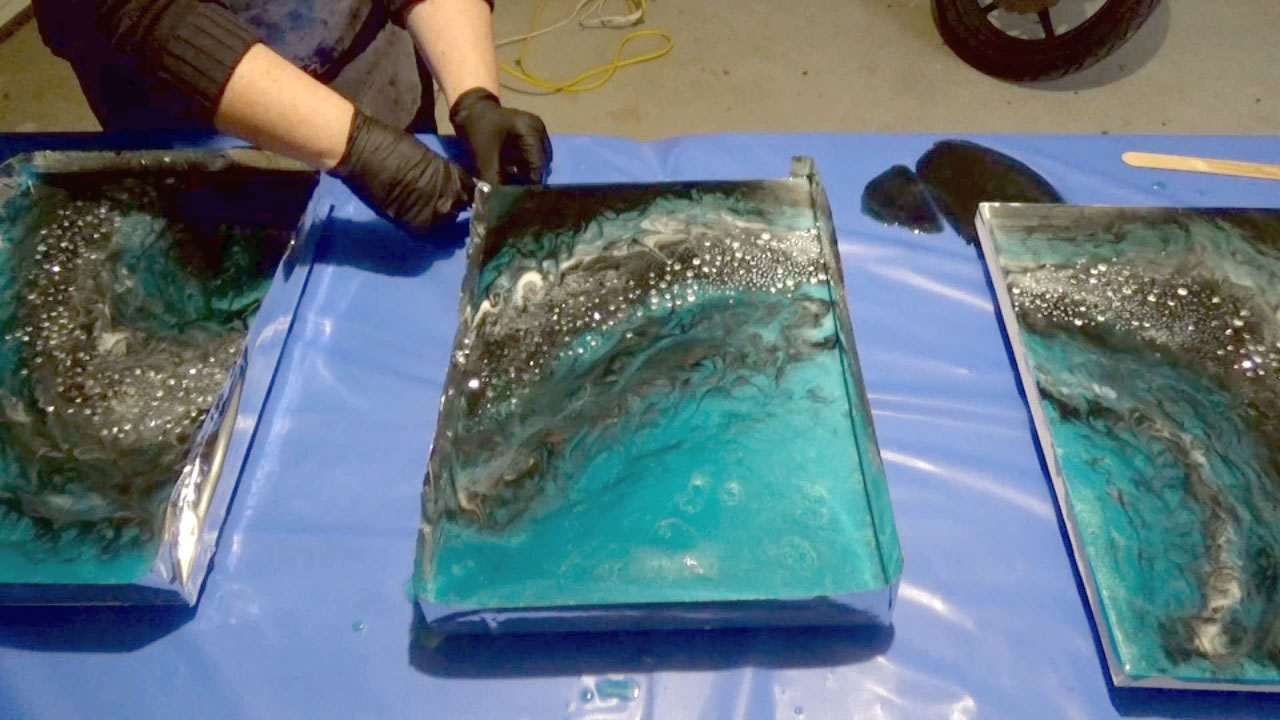
Now that your layout is complete, it is time to add the finishing touches. You can leave it like this, however, I like to add a bit of texture and dimension to my art. So for this part I am applying Acrylic Gems, or decoration fillers as they are also know. Simply follow the direction of the art and just place through the centre.
Leave your art to cure for a bit, I have left this until the resin is still very sticky. To test if your resin is sticky, leave one of the sticks on the side and test that for stickiness. Don’t put your fingers in the art. Once sticky, it is now time to remove the tape and allow the resin to run down the sides. You can use a gloved have or stick to help cover the sides.
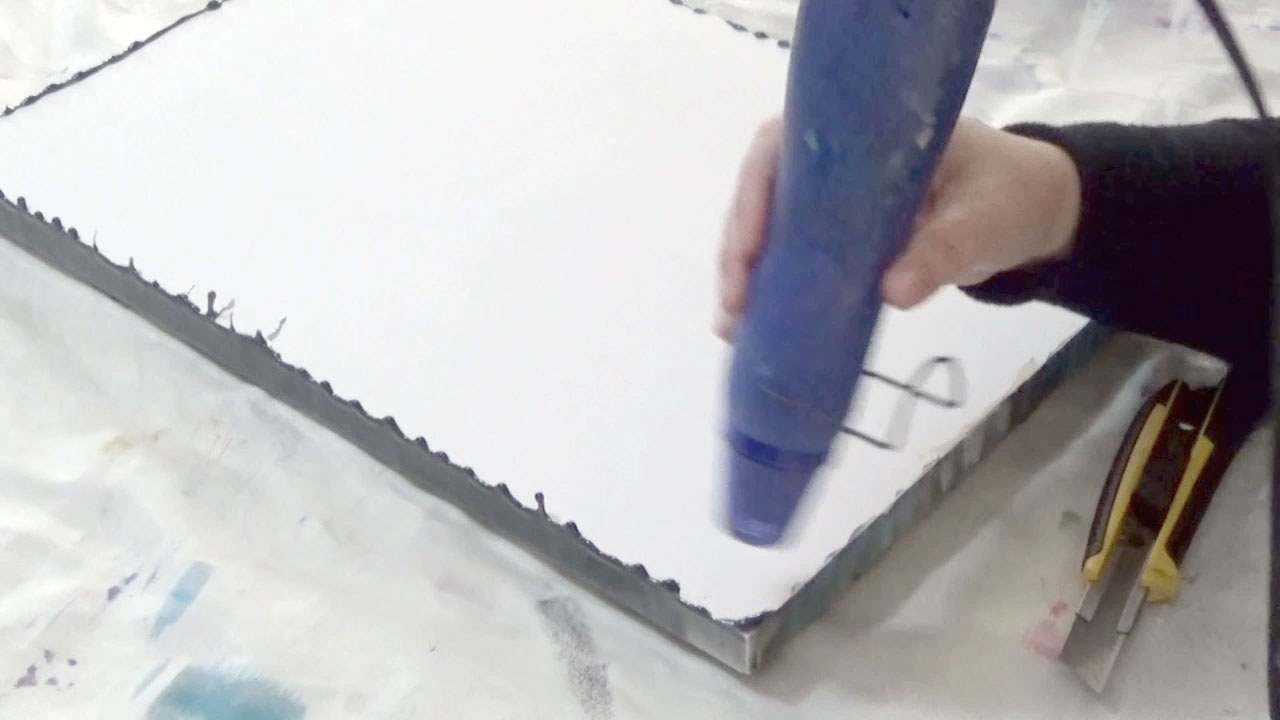
Once your art has fully cured (at least 12 hours), it is now time to tidy up the back. I sometimes add tape to the back for easy removal, however, this occasion I didn’t bother. Using your heat gun, gently warm the drips on the back.

Using a knife or wood chisel, you can now easily remove the resin drips. This works best when the resin has resently cured. More elbow grease is required if the resin cured sometime ago.

There you have your triptych river flow. As you can see, it is very effective.
I hope you enjoyed this tutorial and it has inspired you to create your own version.
A video tutorial is available to watch in our Video Tutorial section, here you can watch more of our video tutorials. There are plenty of ideas to spark your creativity.
Hi Sue, Charmaine here from South Africa. I just love your art. You truelly inspire me. Please send me new ideas.
Kind regards
Charms
Thank you, I will do my best x